This document covers using Animated Texture Atlas for importing Adobe Animated Texture atlas's into UE5.
Let's get a quick how-to guide on exporting and importing animations from adobe animated into unreal.
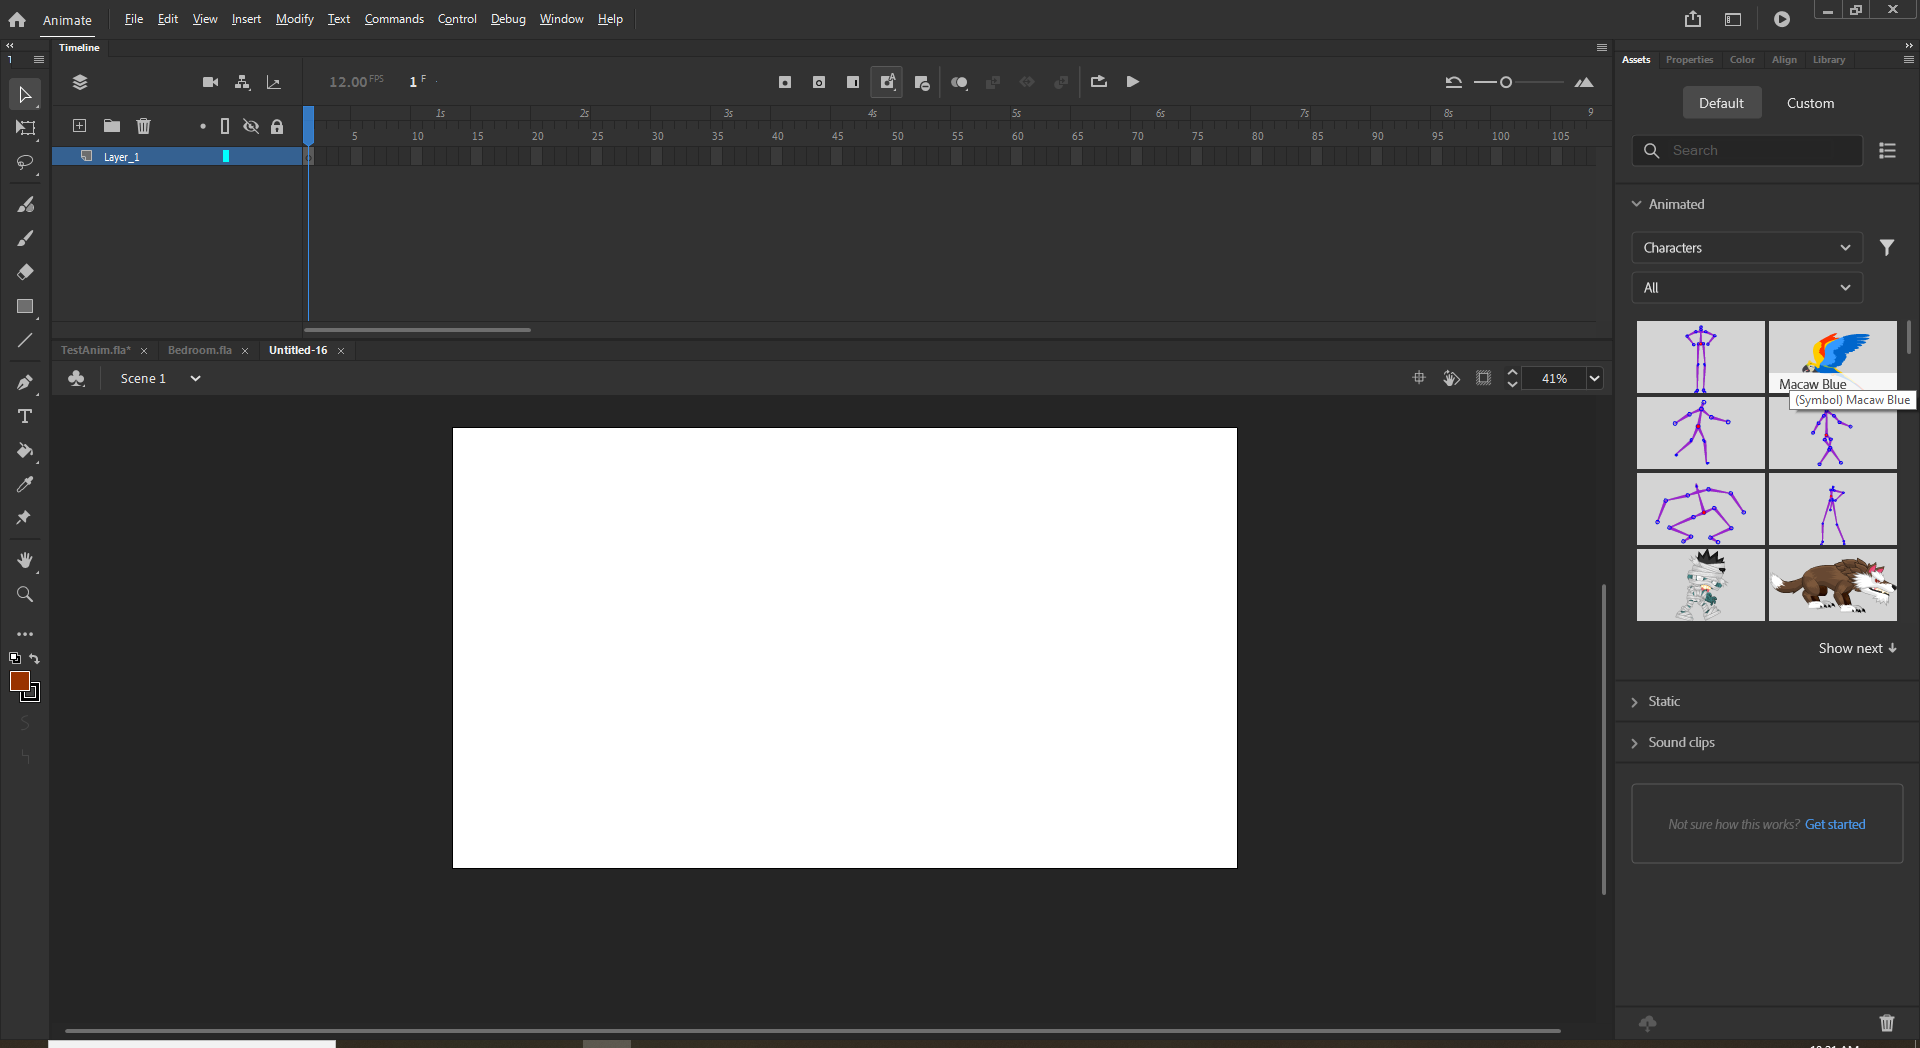
First let's load up adobe animated, and for this example we'll use some of the provided assets that adobe animate makes available:
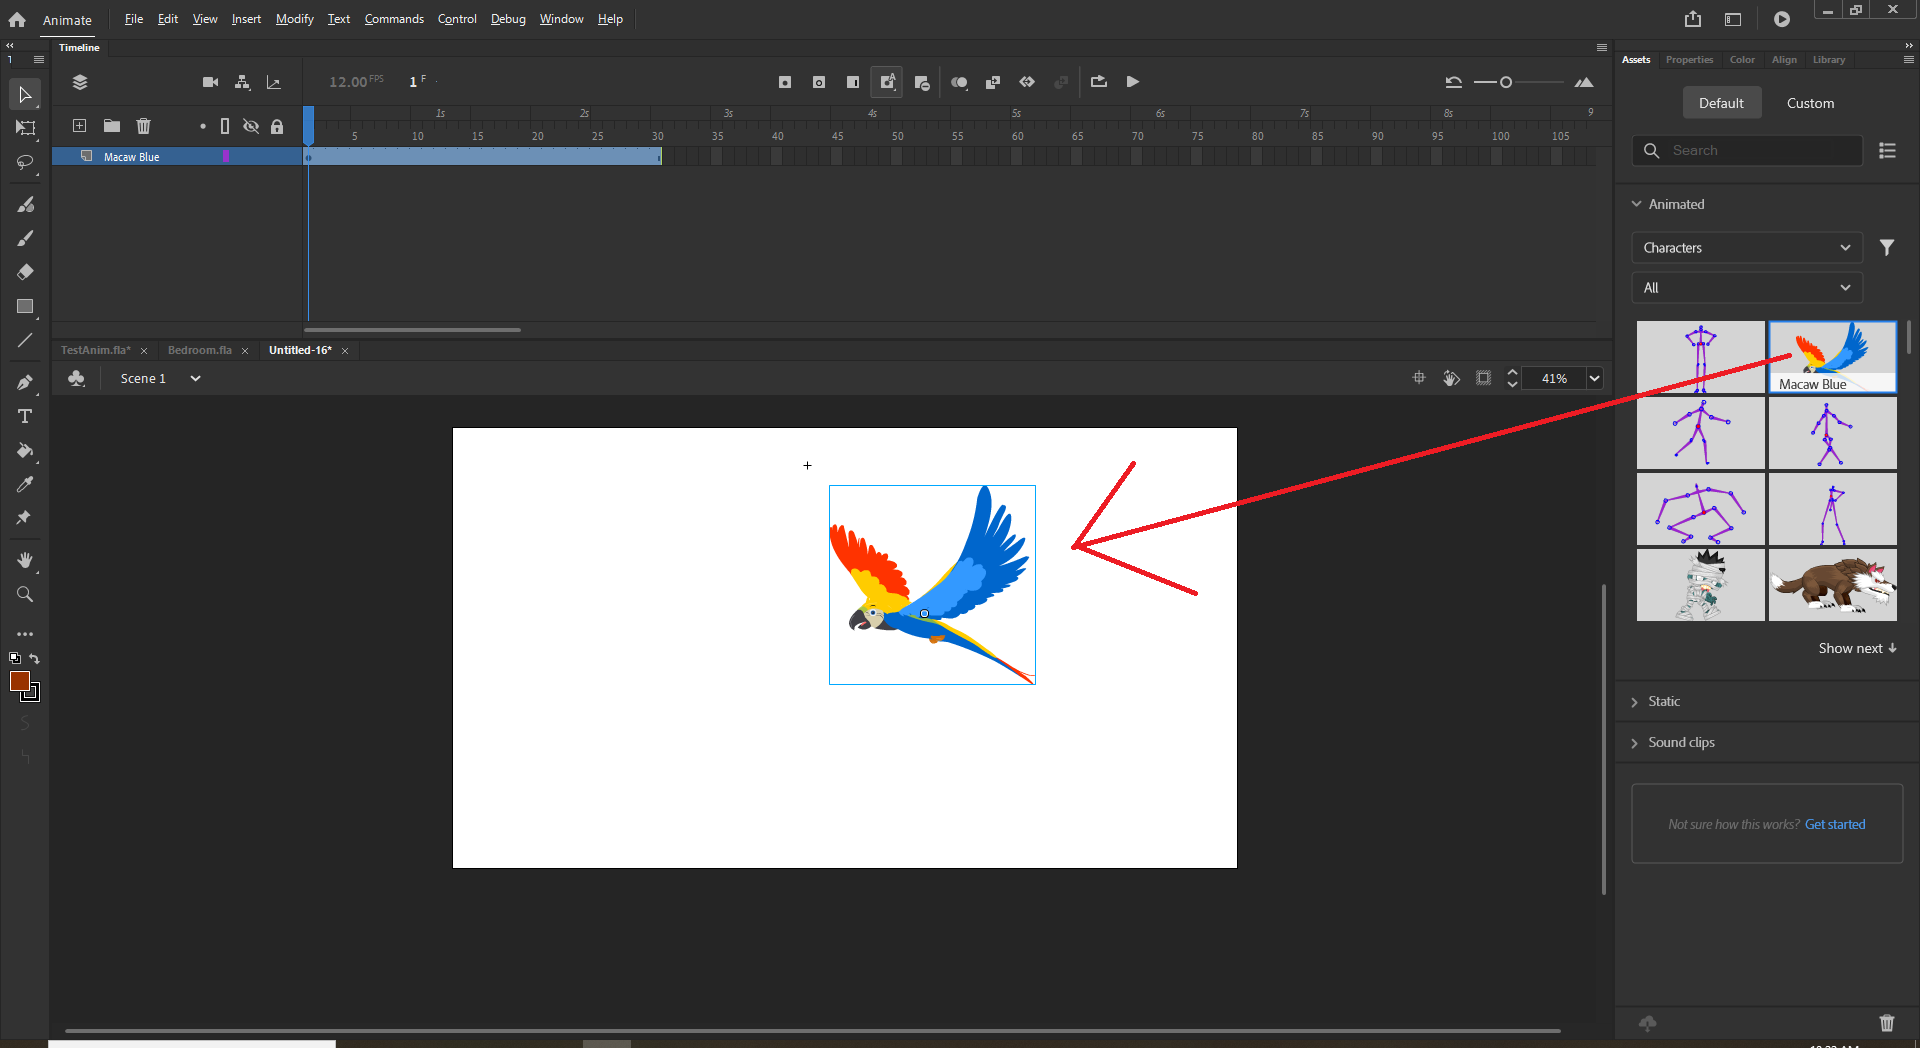
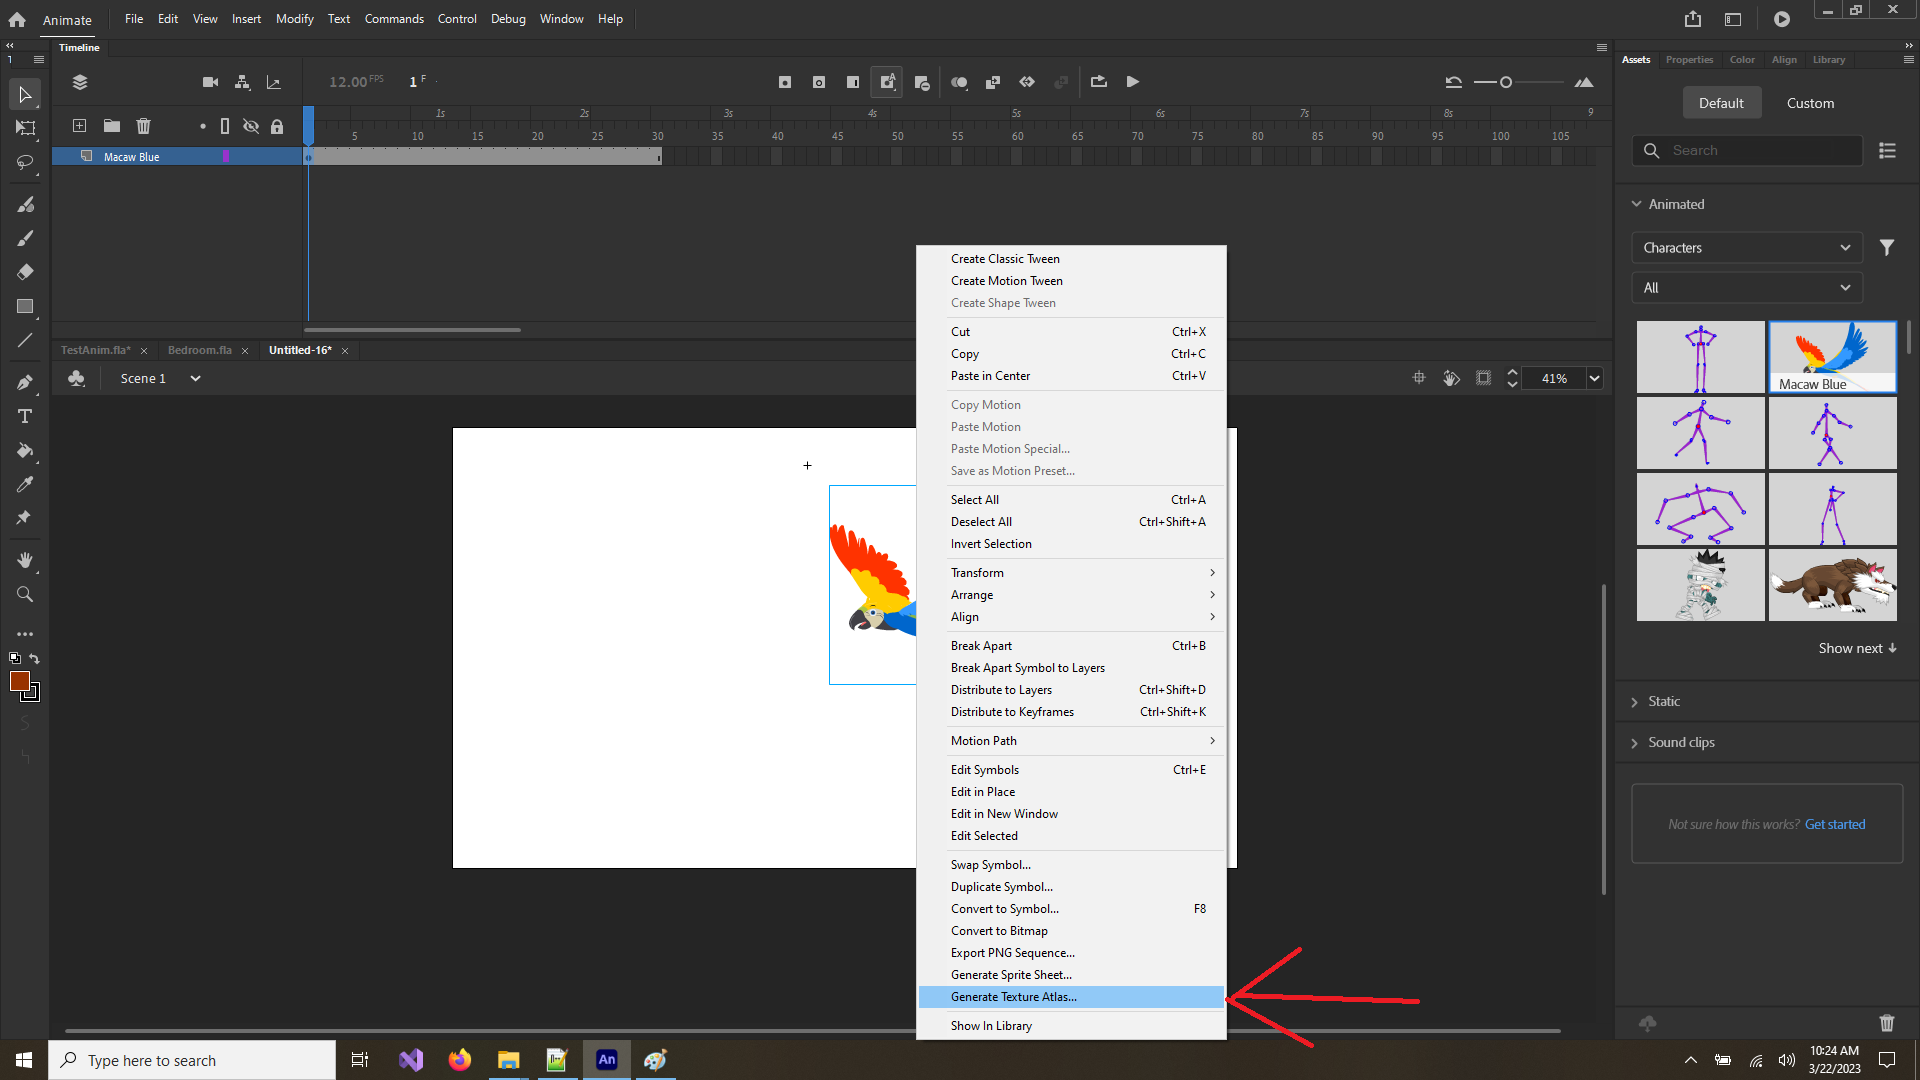
Now that we have an movie clip(or graphic) in our scene, we can export it. right click on the movie clip, and the bottom option 'Generate Texture Atlas...' (For complicated/large objects, this may take some time).
The following dialog should open after some time:
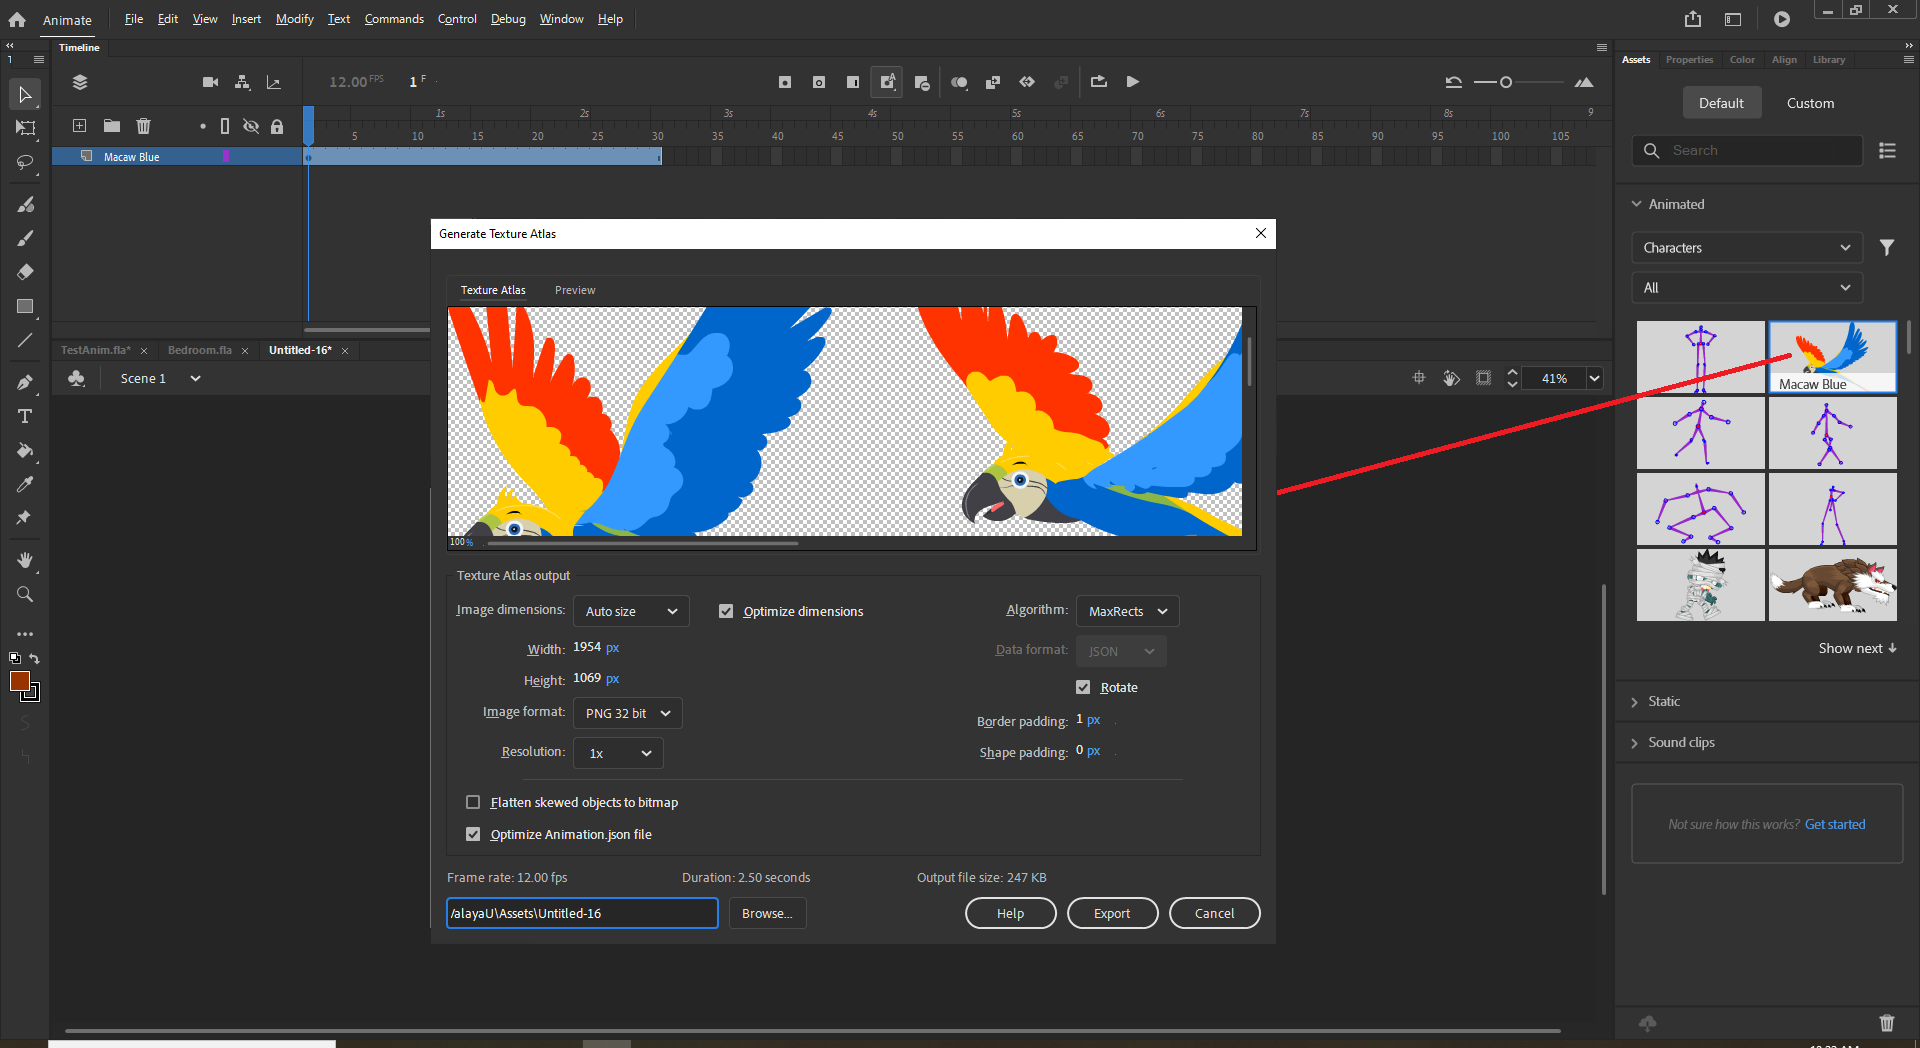
It's recommended to keep most of these settings to default, the plugin can read both optimized and unoptimized json files, it also does not to need to flatten skewed objects as that is handled correctly. Rotate option is also handled correctly and allows for more compact texture atlas to be generated by adobe, so it's recommended to keep this on. The framerate is important as the playback rate of 1.0 is equal to what the framerate is set to for the object. once you've selected a location to save to, click export.
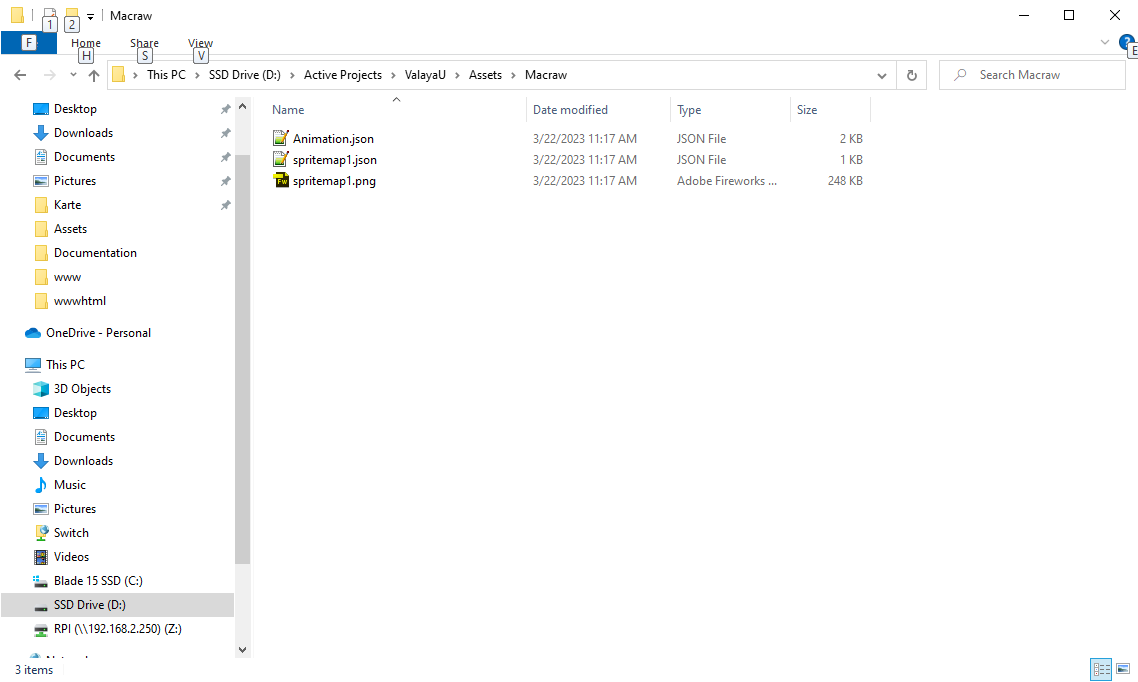
Adobe Animate will generate at least 3 files, 1 is the 'Animation.json' which is the file that will be imported to UE4, the other two are 'spritemapX.json' and 'spritemapX.png' where X is the number of atlas files generated, but always starting at 1.
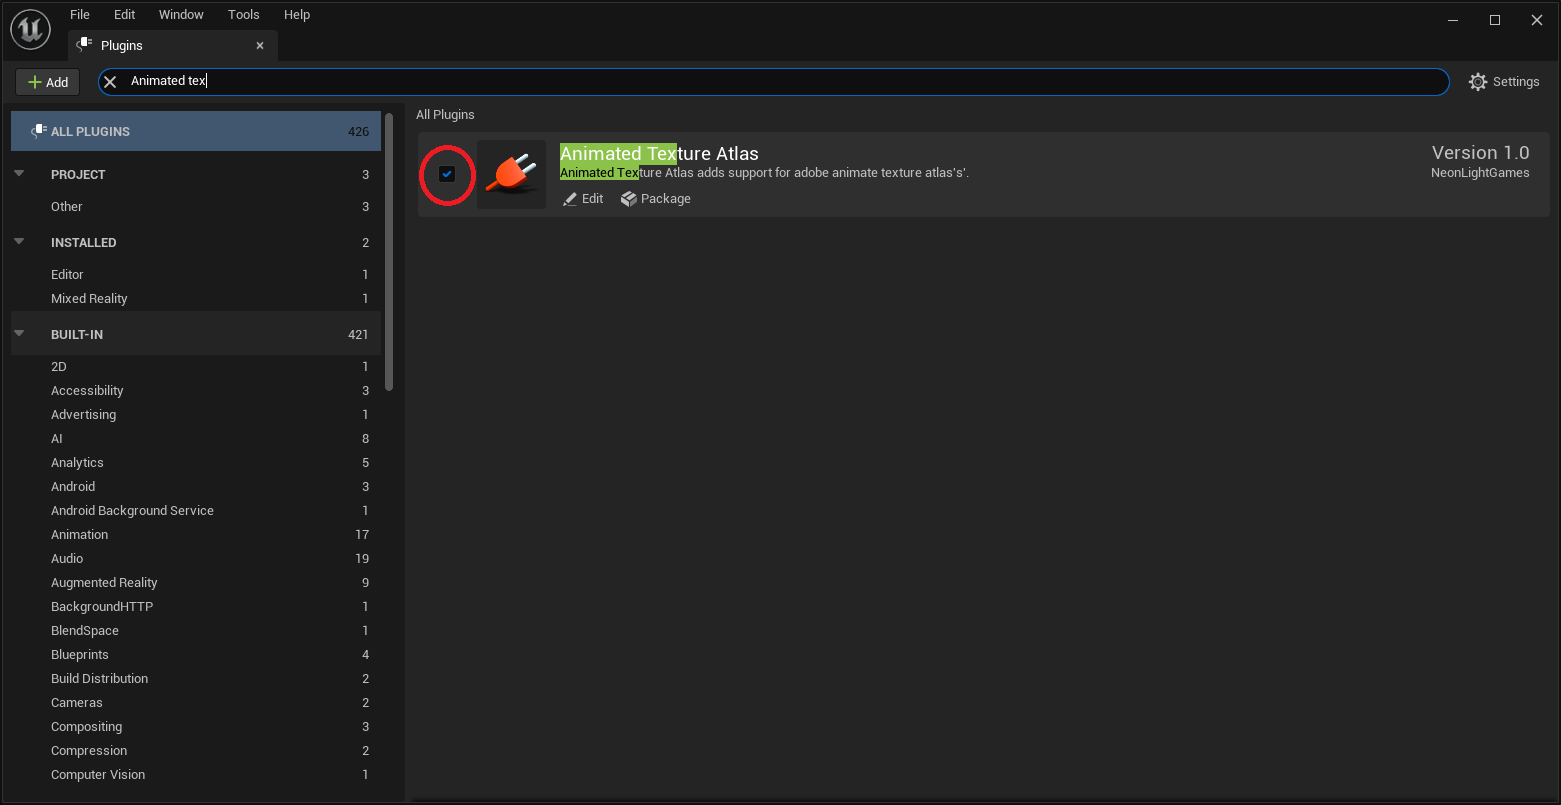
Now let's load up unreal engine, and import these files. first make sure the plugin has been enabled in the plugins menu:
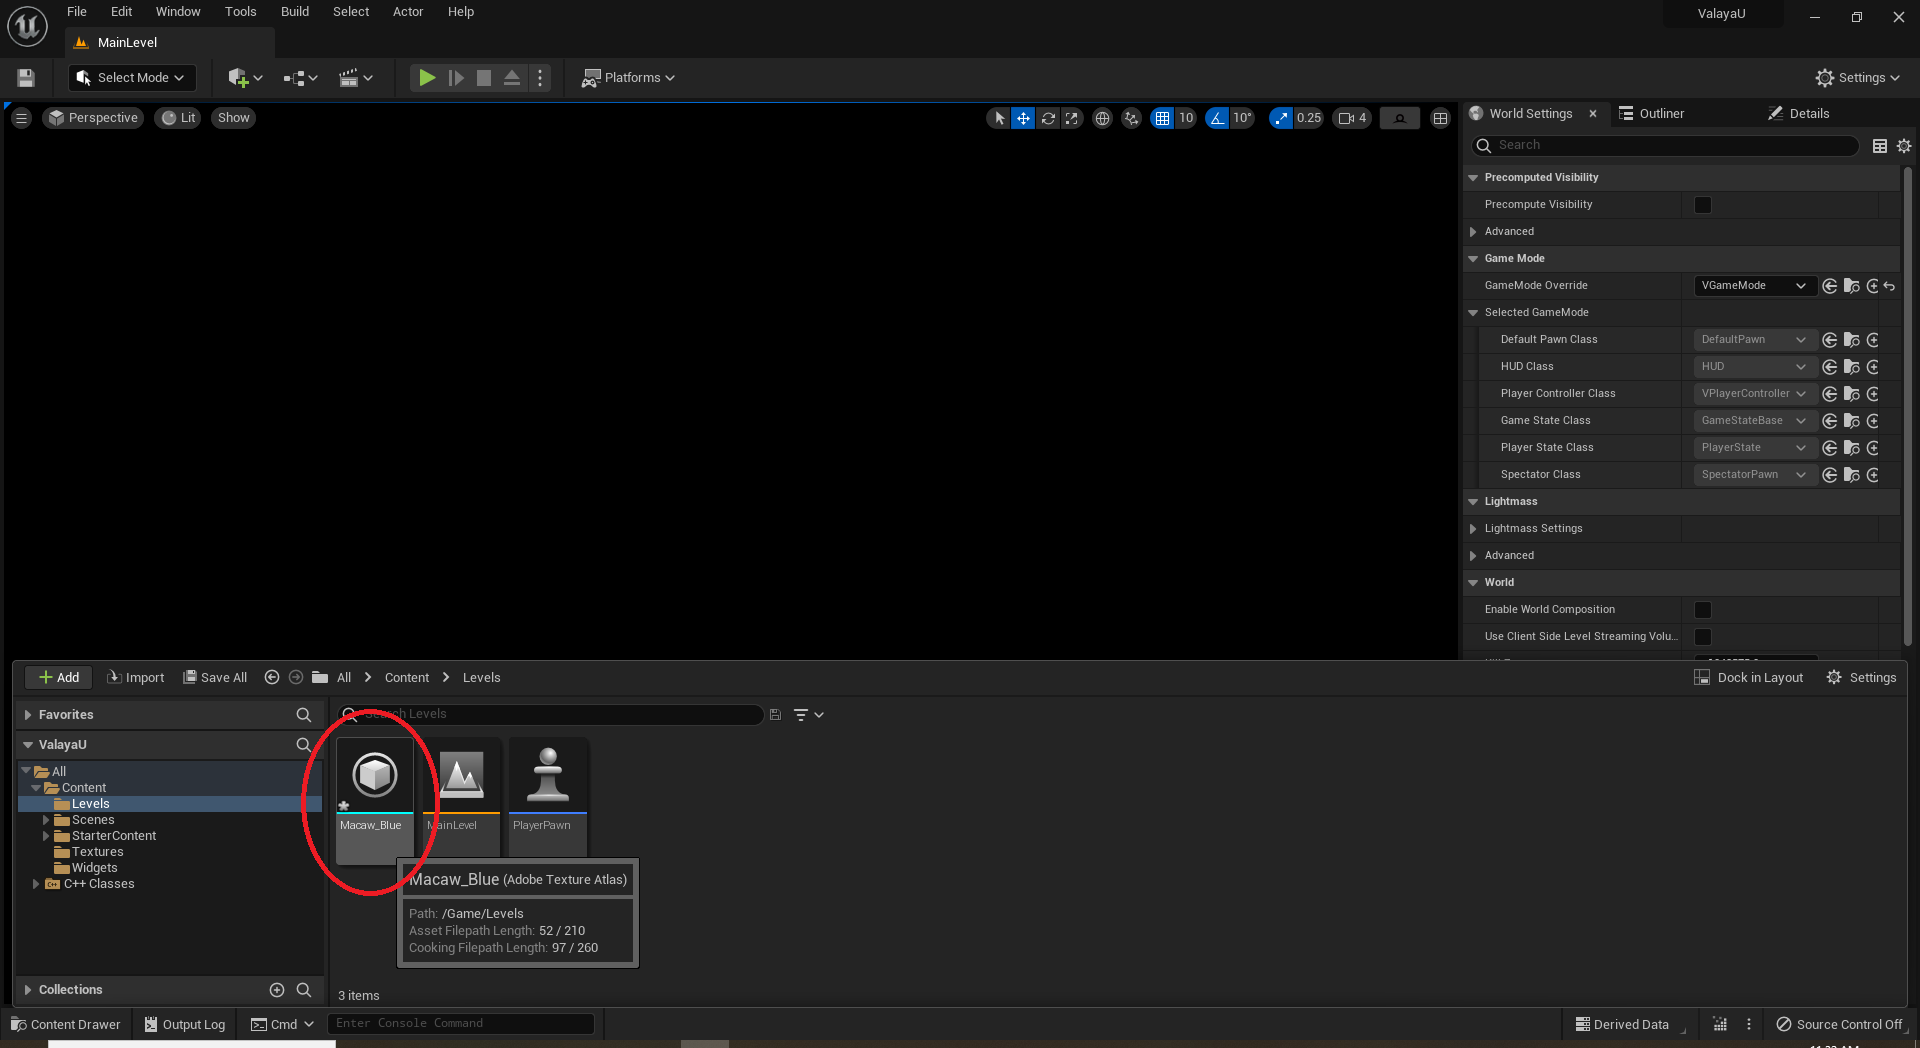
Now right click in your content browser and click import, navigate to the folder that the texture atlas was saved in, and select the 'Animation.json' file for importing. after a few seconds the file should be imported:
If we open the file we will be greeted with the Texture Atlas Editor, which by default shows all of the atlas tiles in our texture atlas, and is in collision editor mode. press space to turn off the collision edit mode to see just the tiles.
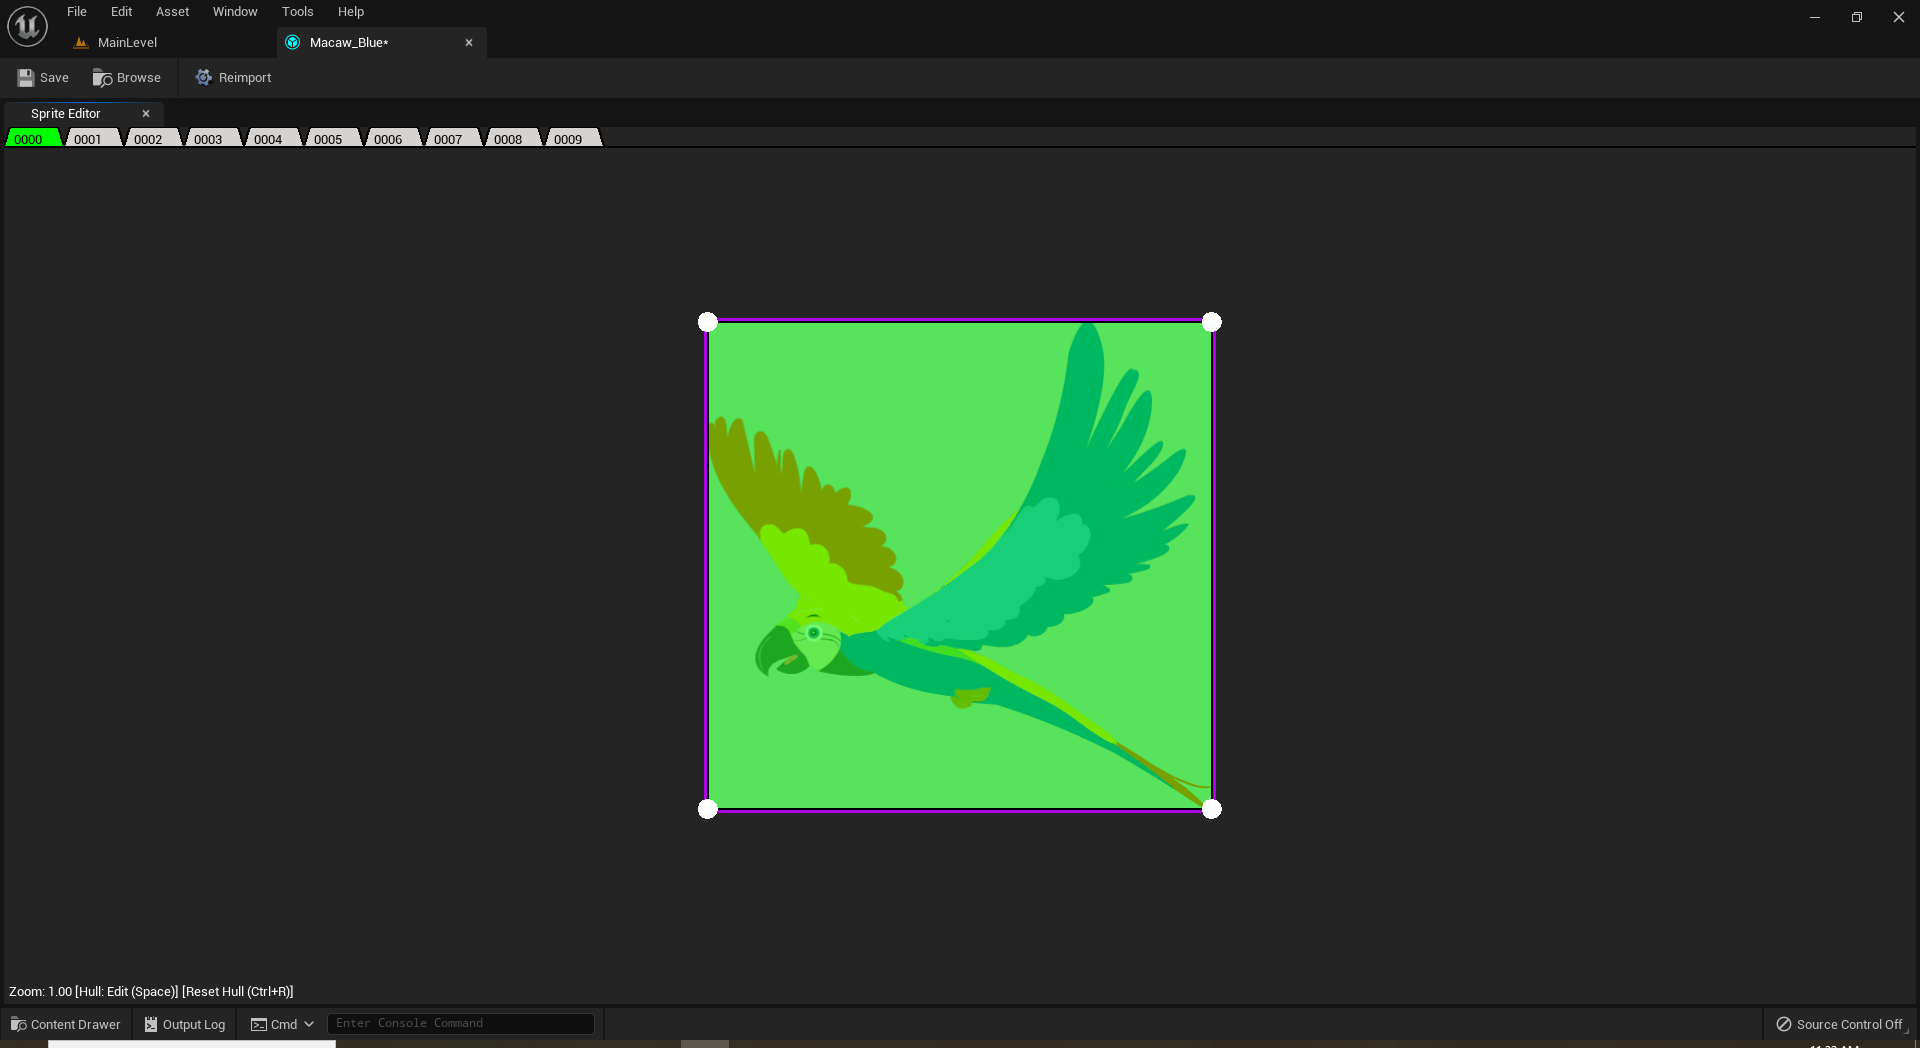
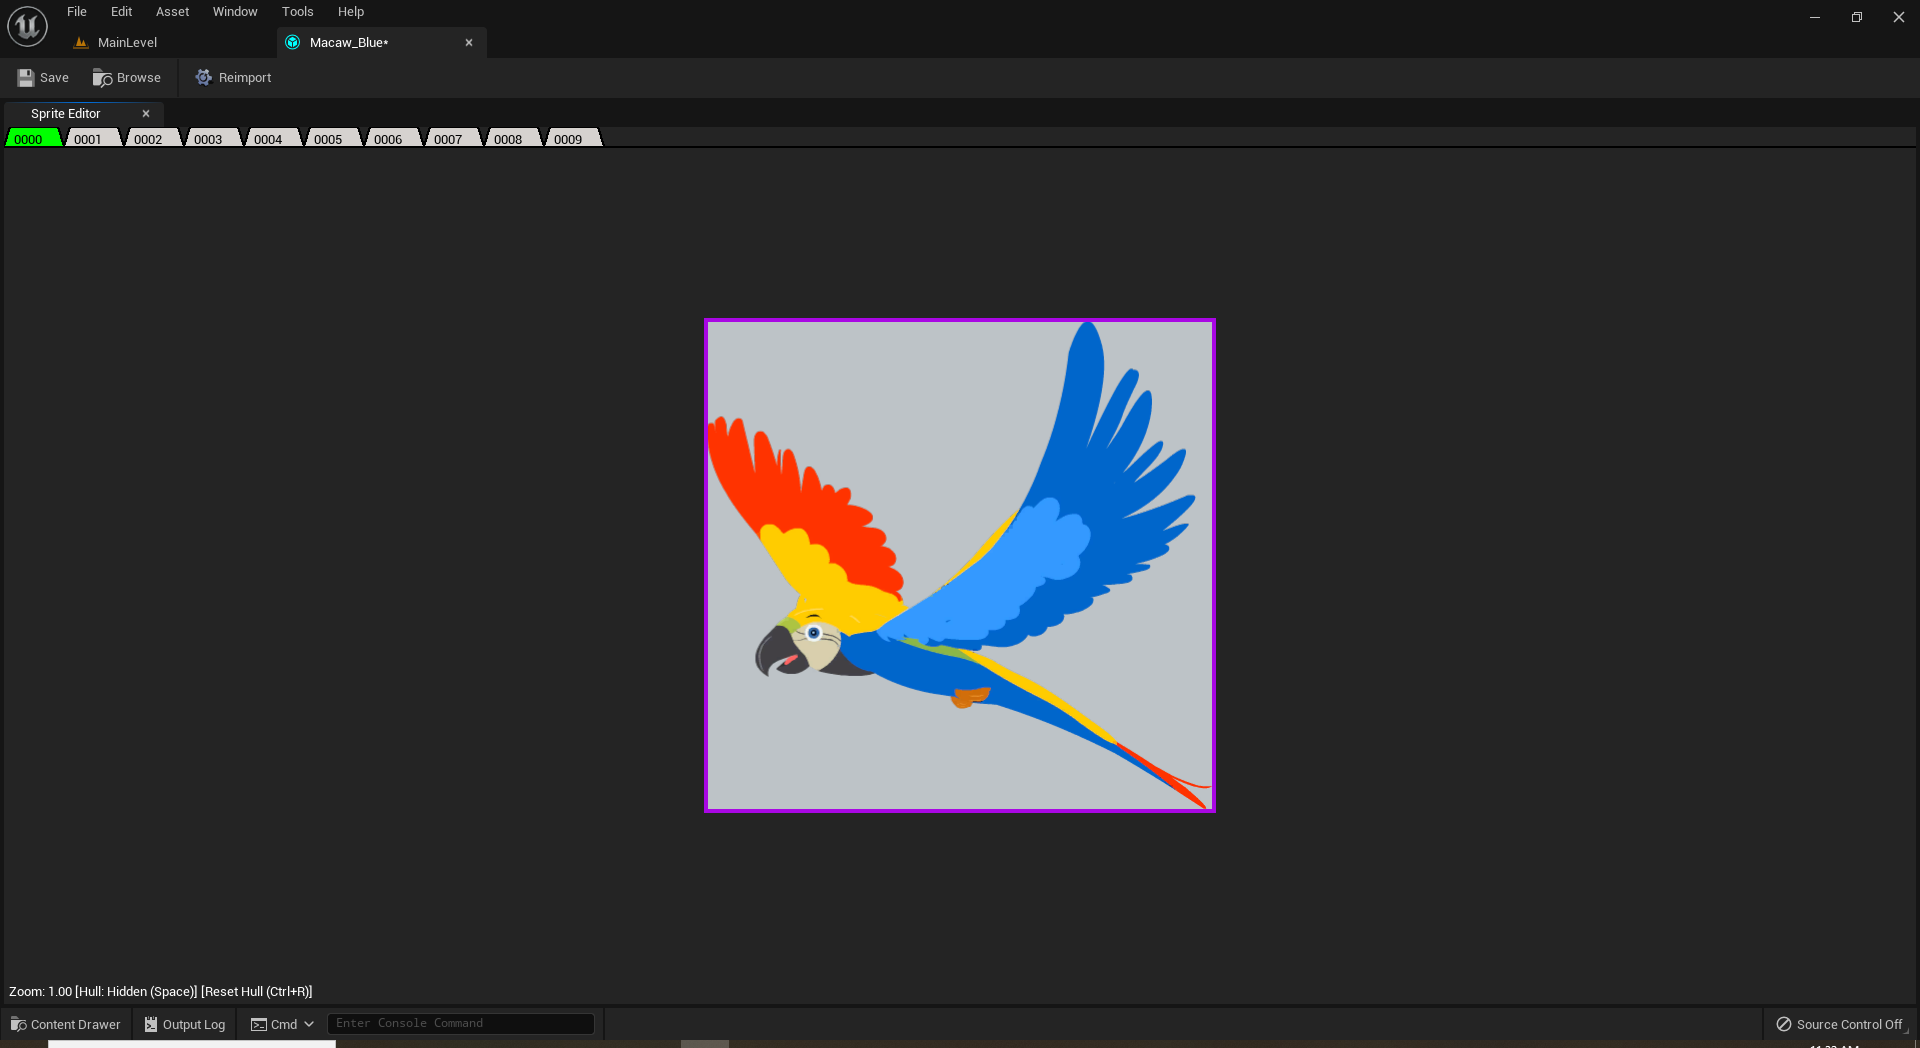
If we press space again to turn back on the collision edit mode, we can see the convex hull for each atlas. the convex hull allows us to add clickable events, and hover/unhover detection when the mouse moves around the screen, you can click on drag the handles around to make a collision box that better resembles the tile's shape. If the hull is red, this means the convex hull is concave, which will produce incorrect collision results.
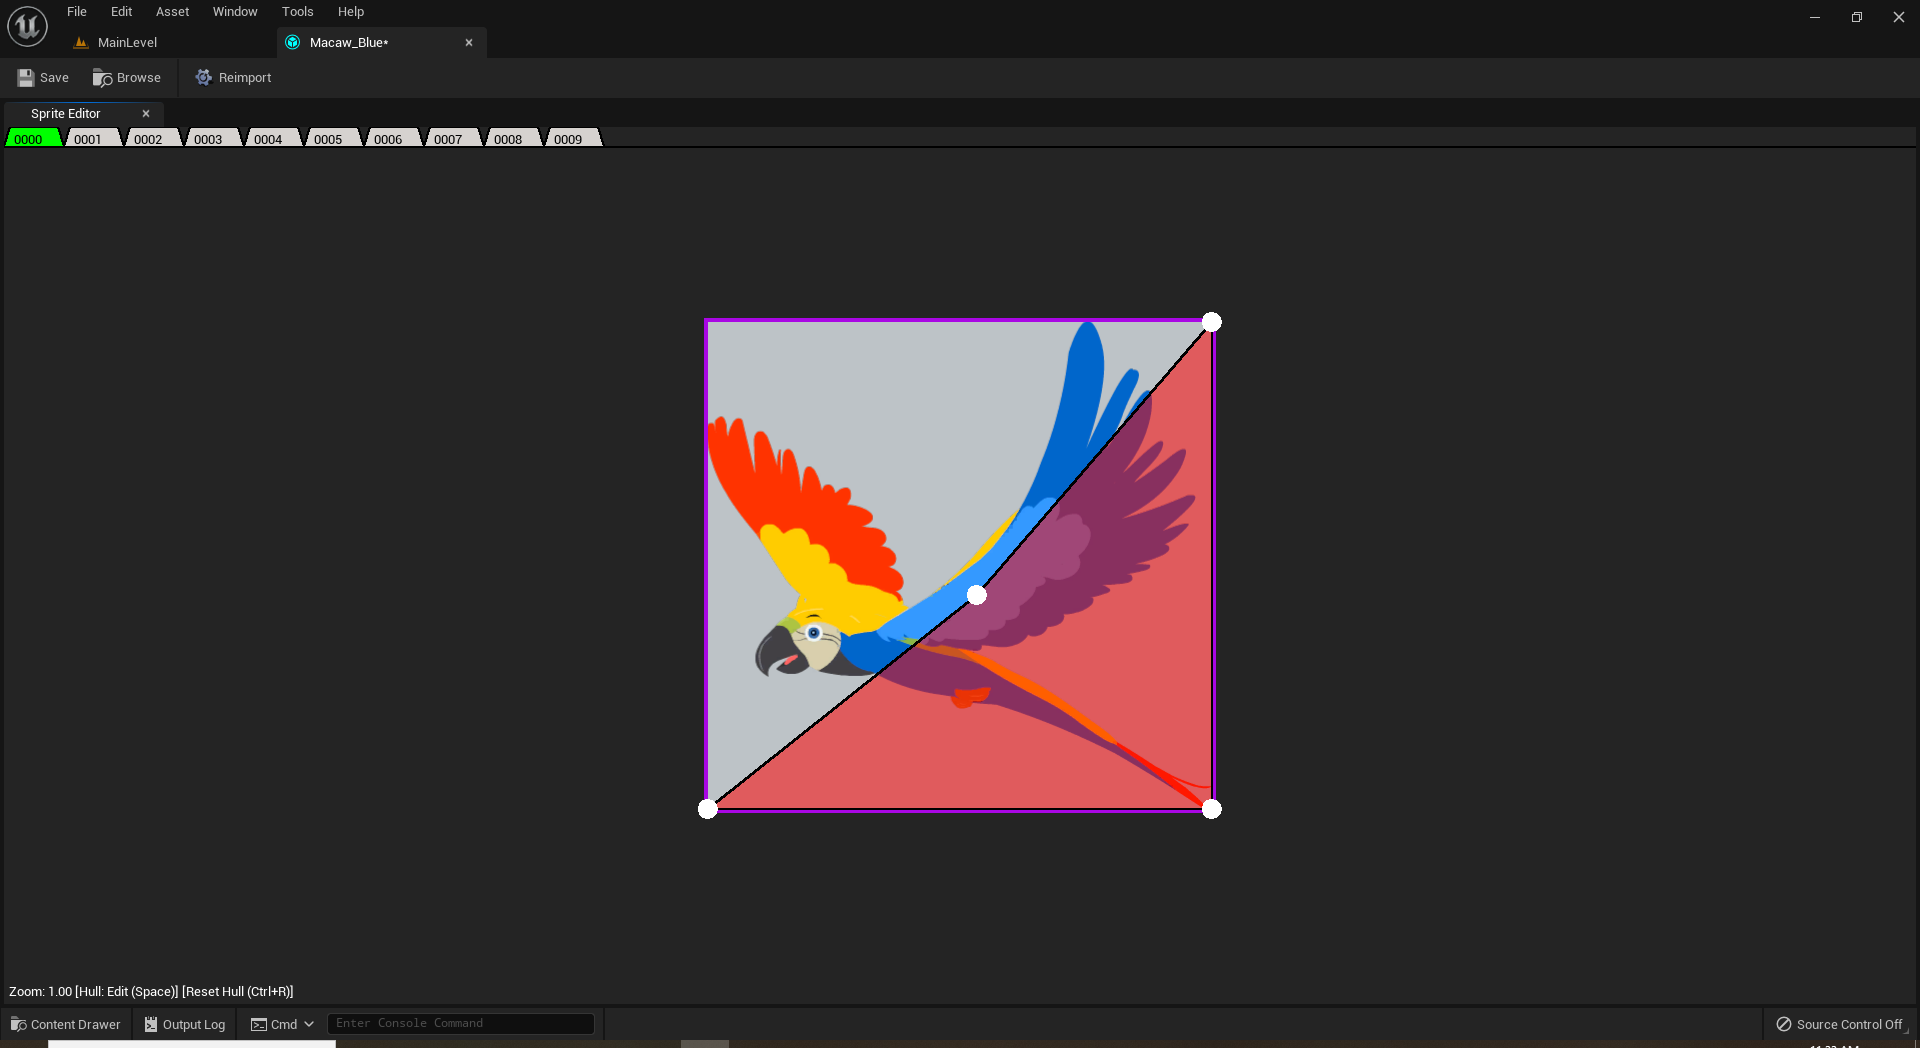
you should always make sure every convex hull is green before exiting. you can also copy + paste hull's between different tiles in the same asset by using ctrl+c, and ctrl+v. if you wish to reset the hull, you can hit ctrl+r to reset back to the default box around the entire tile.
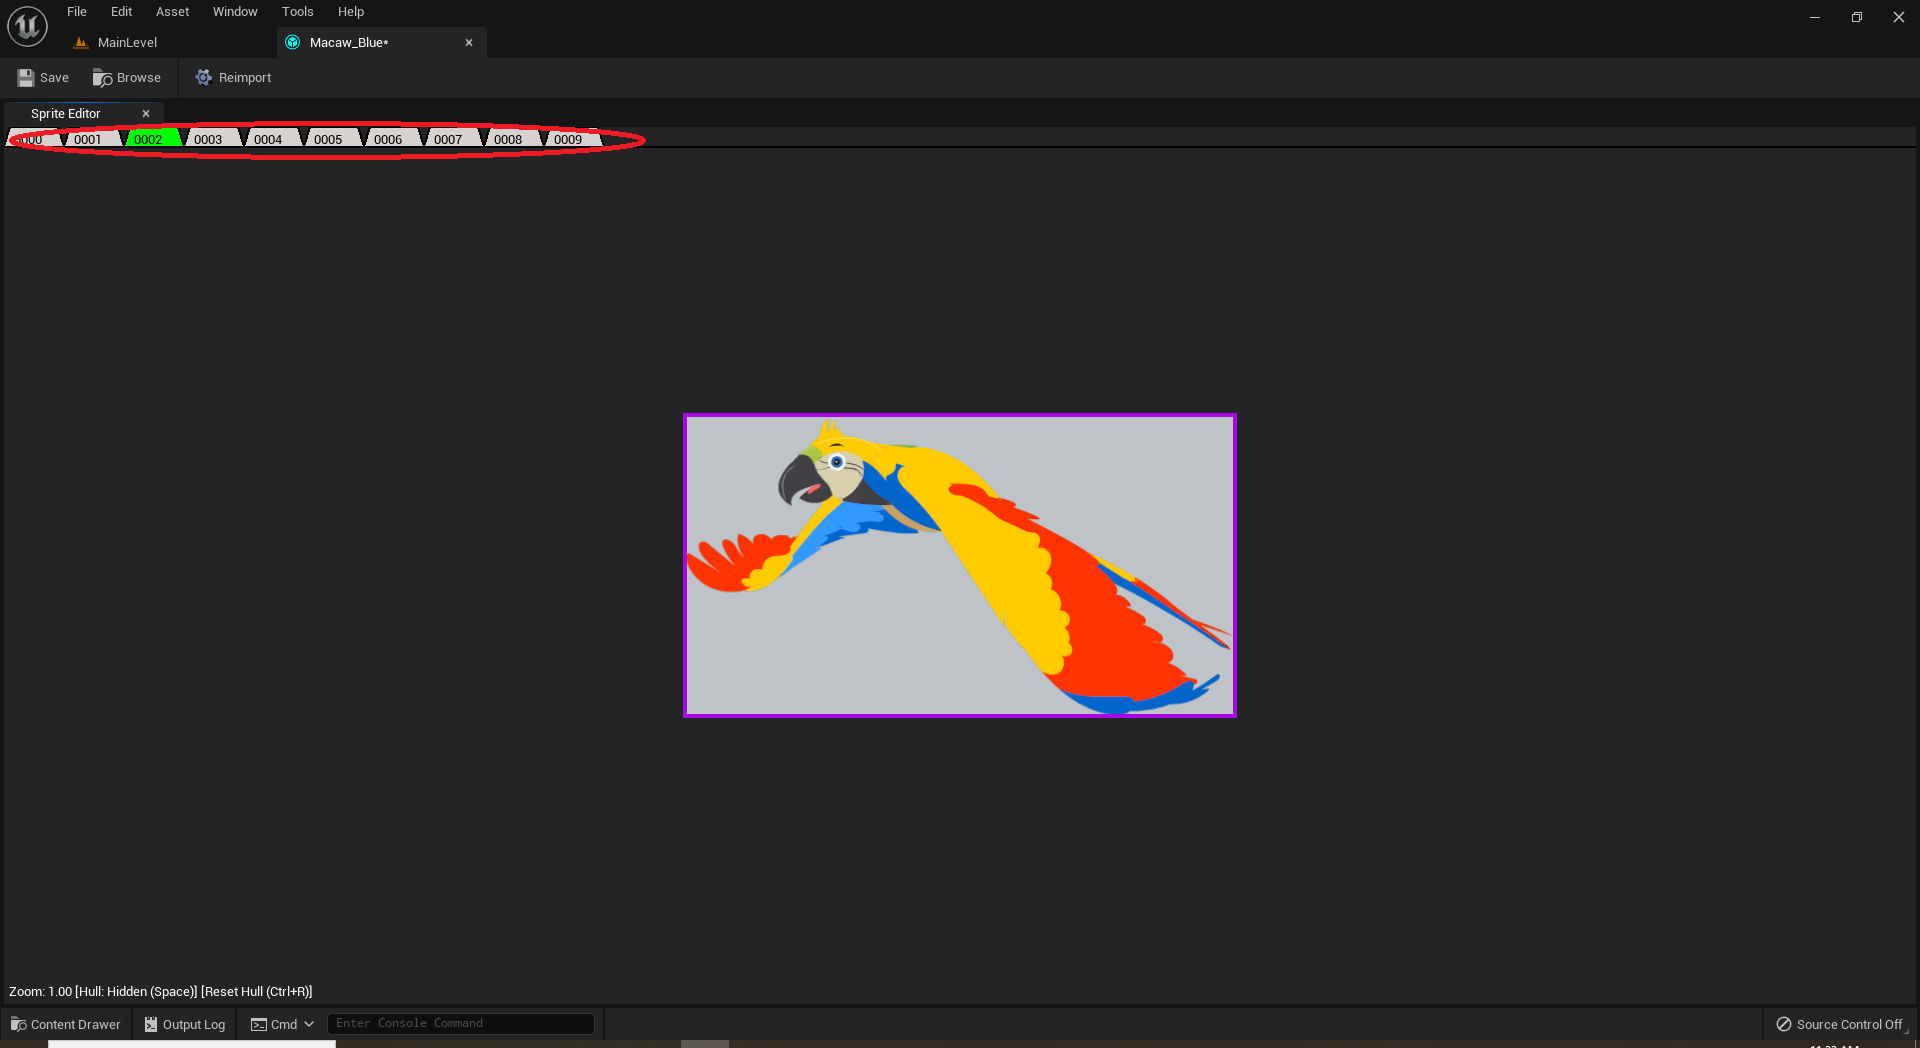
The tabs at the top represent different atlas tiles, if you plan to have accurate mouse collision, be sure to update all the tile convex hull to accurately reflect them.
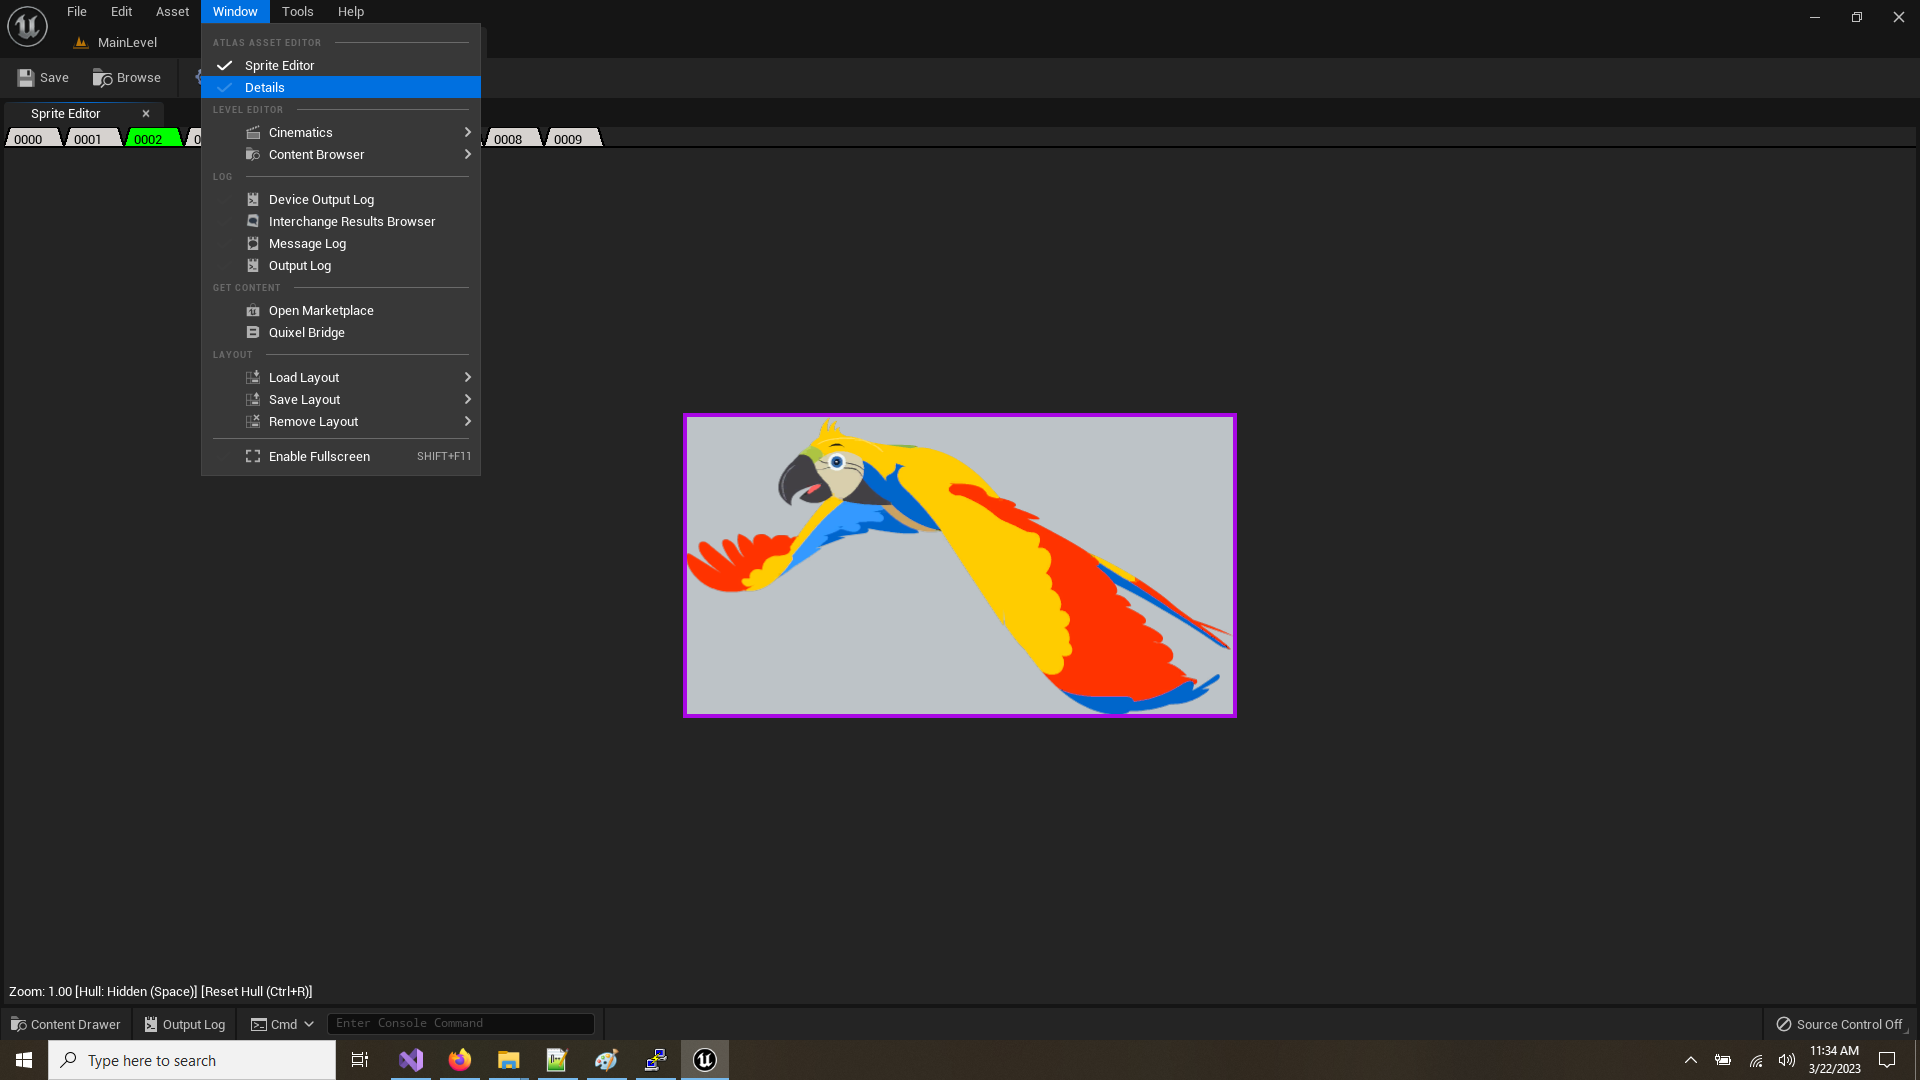
Under the 'window' menu tab, you can open the 'details' panel, this panel is hidden by default as large atlas's can cause significant lag in the details panel.
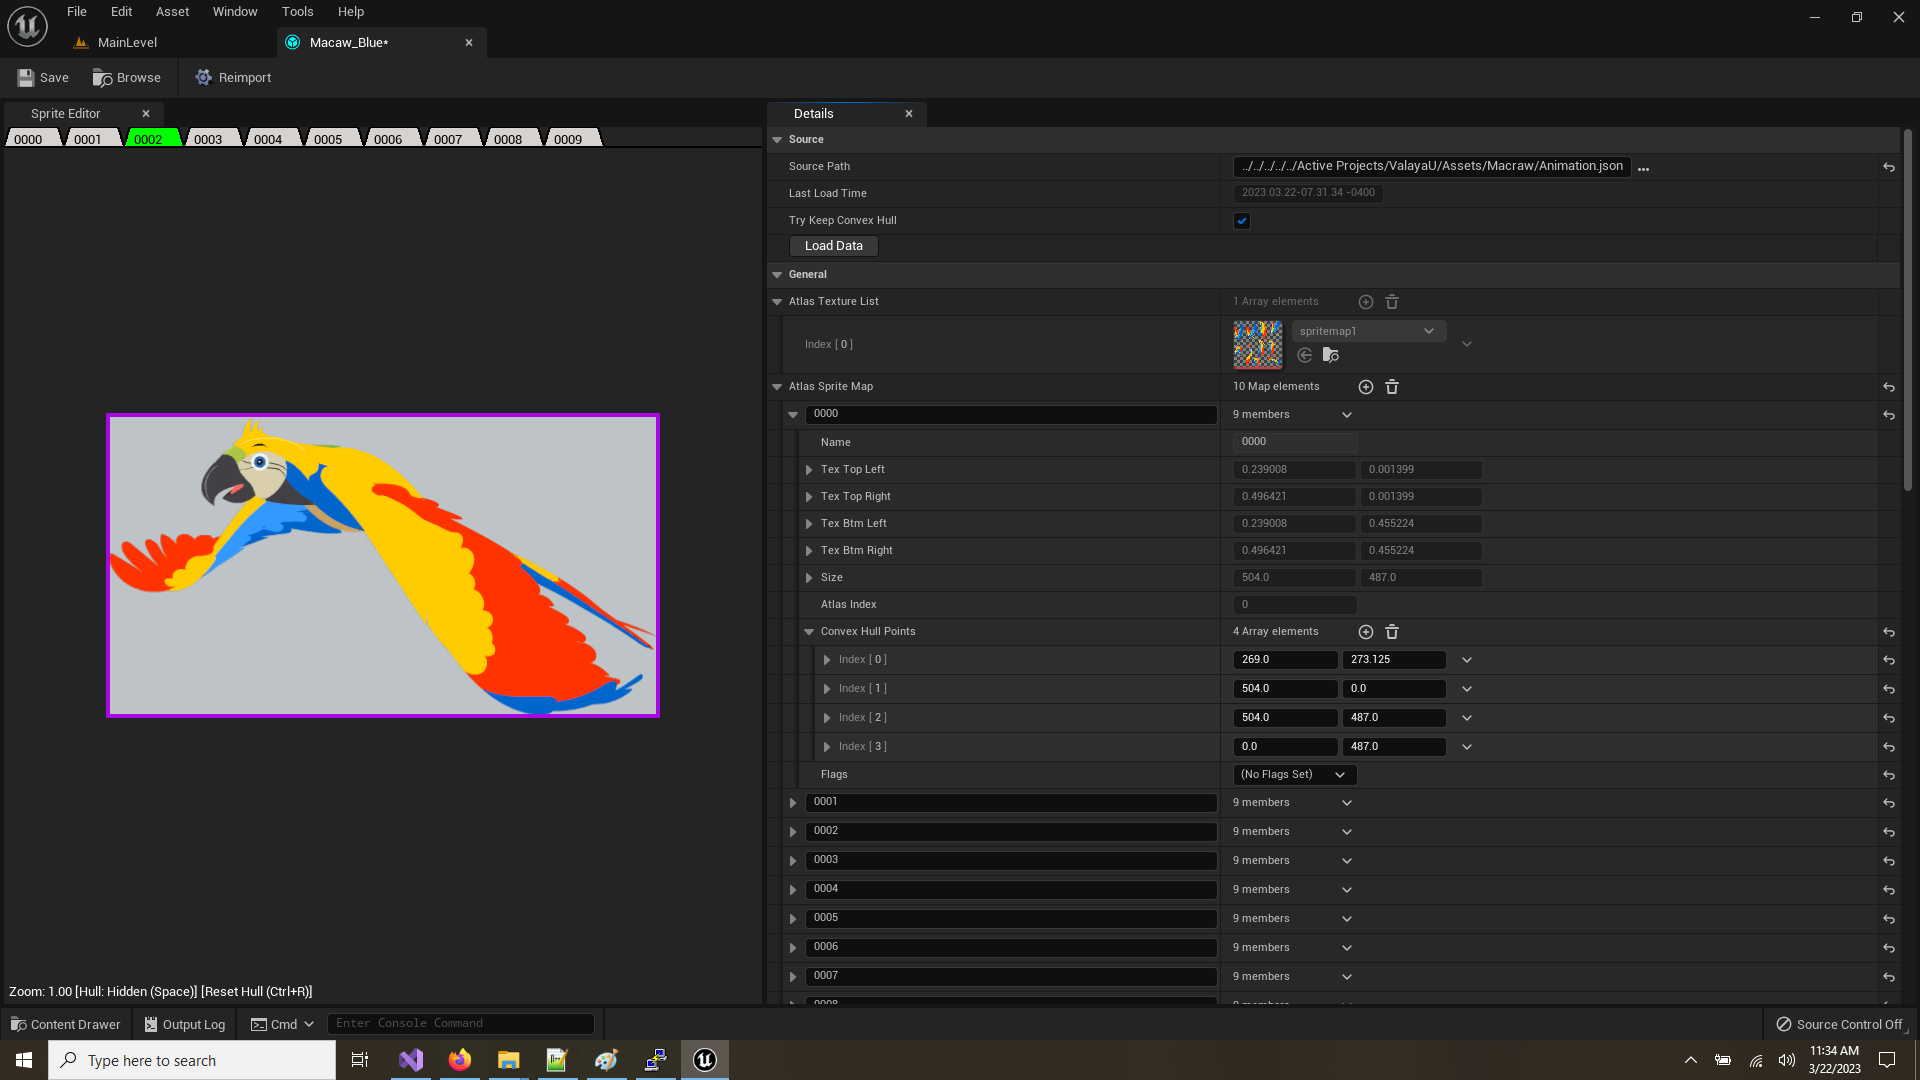
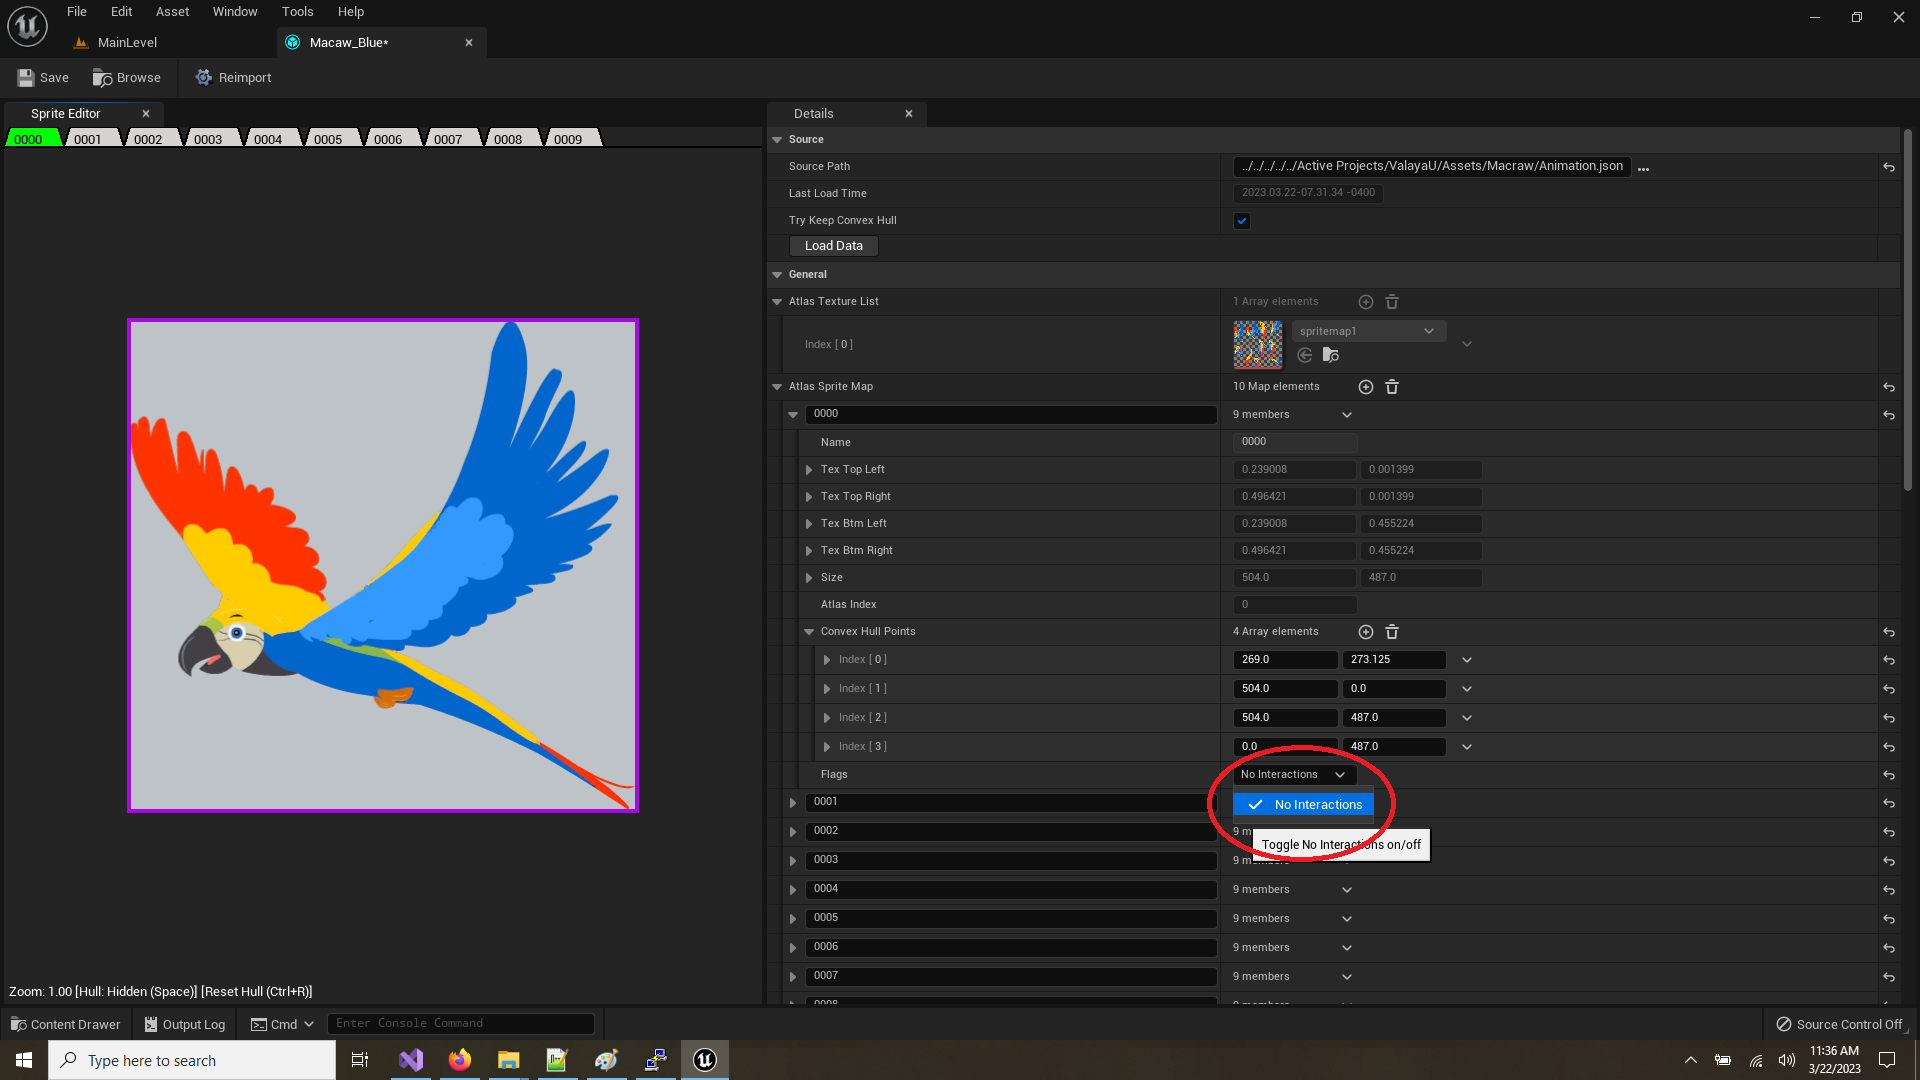
In the details panel you can check the texture settings(such as srgb, compression, etc), and inspect the details of the underlying structure for the atlas. you can modify some aspects, but most of the file is set to read only. if you'd like to turn off mouse interaction for some tiles, you can open each tile in the details panel, and set the 'NoInteraction' flag on the tile:
That should cover most of the basics for the asset editor, now let's make a blank user widget and add our movie clip into the scene:
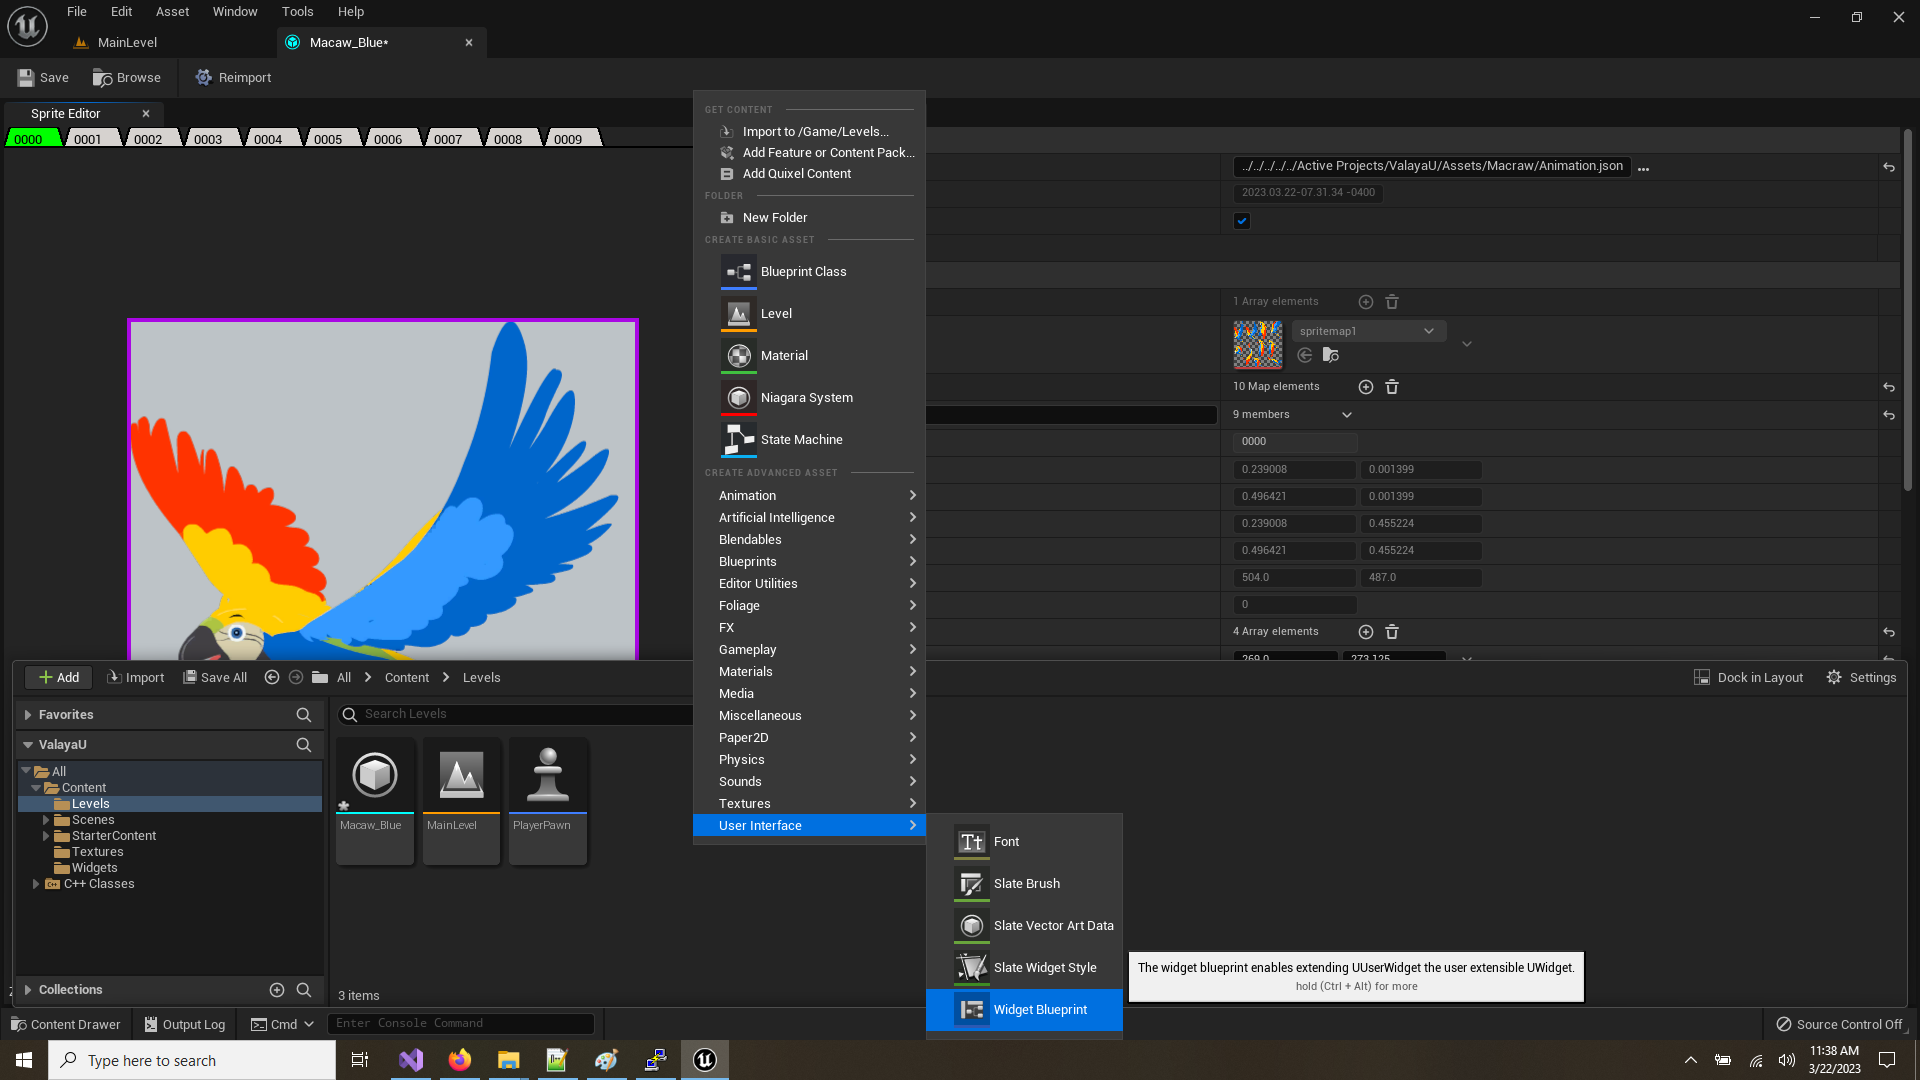
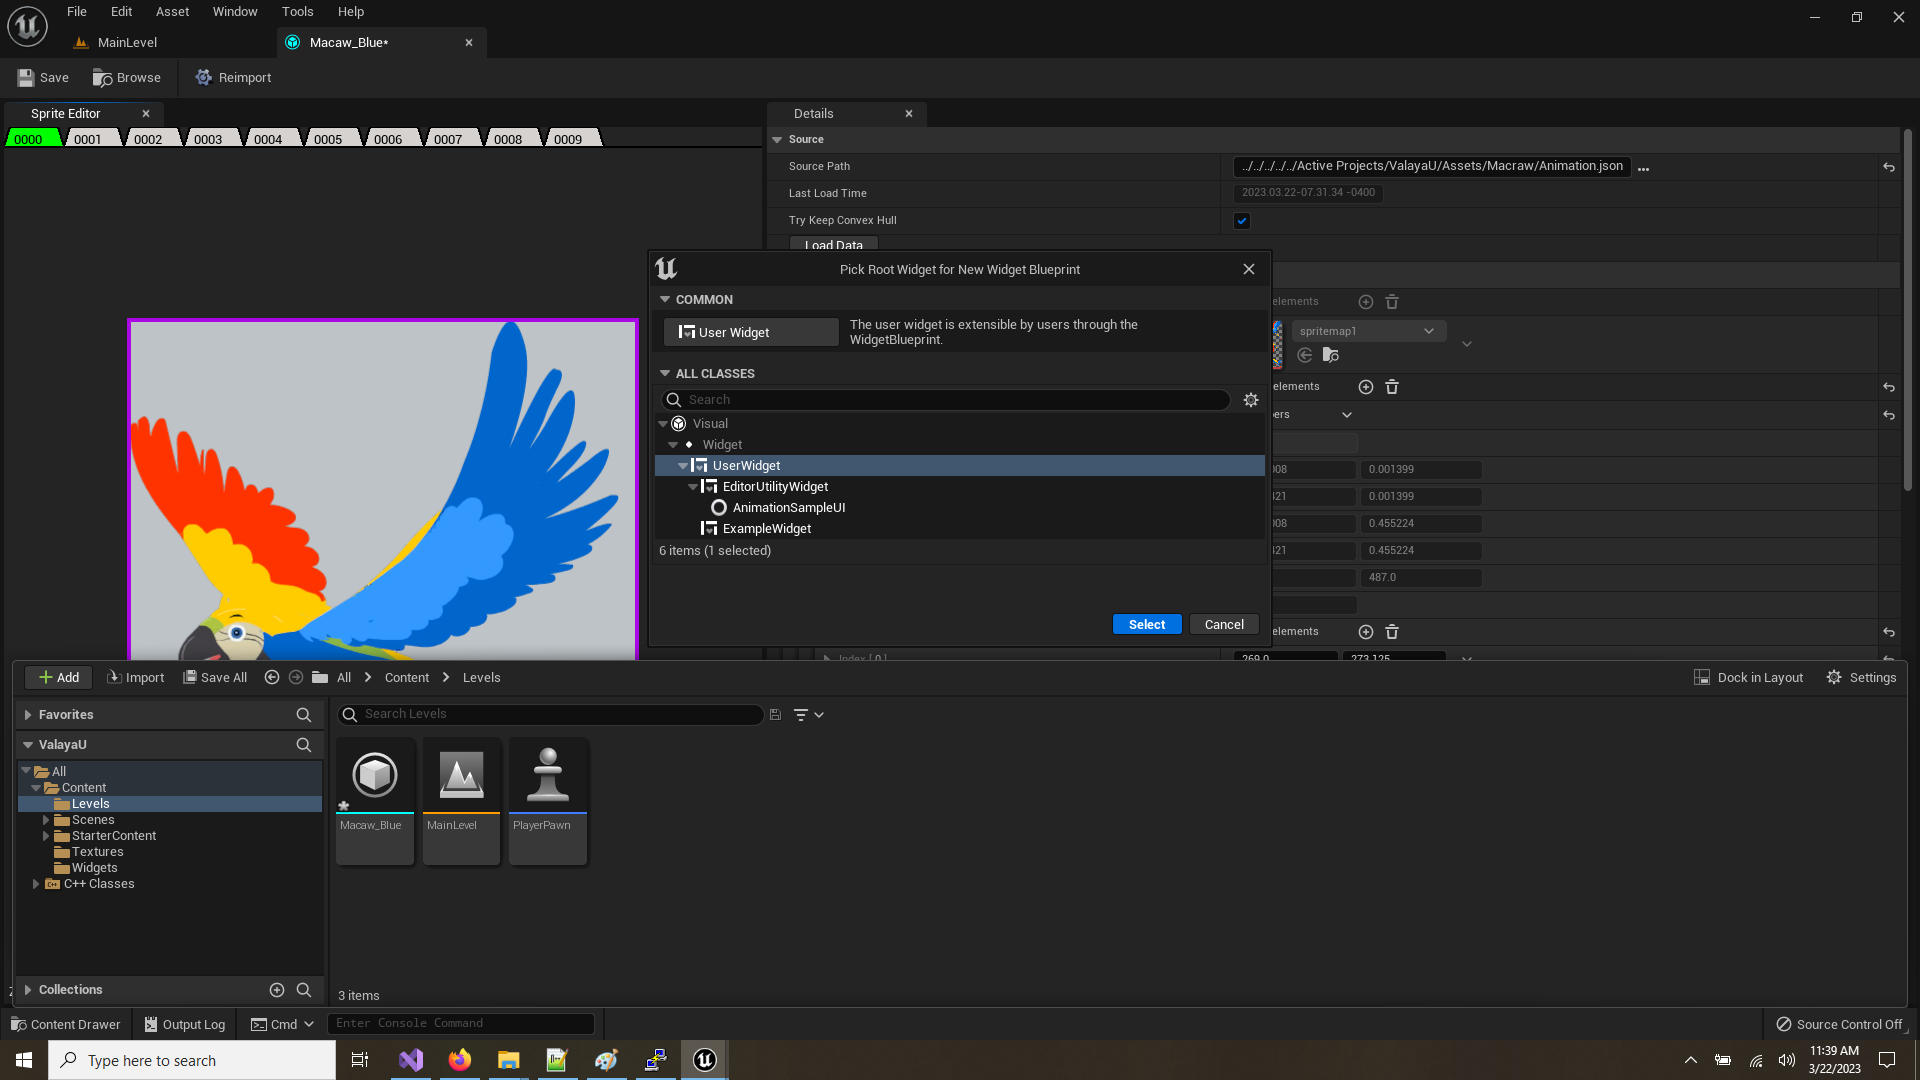
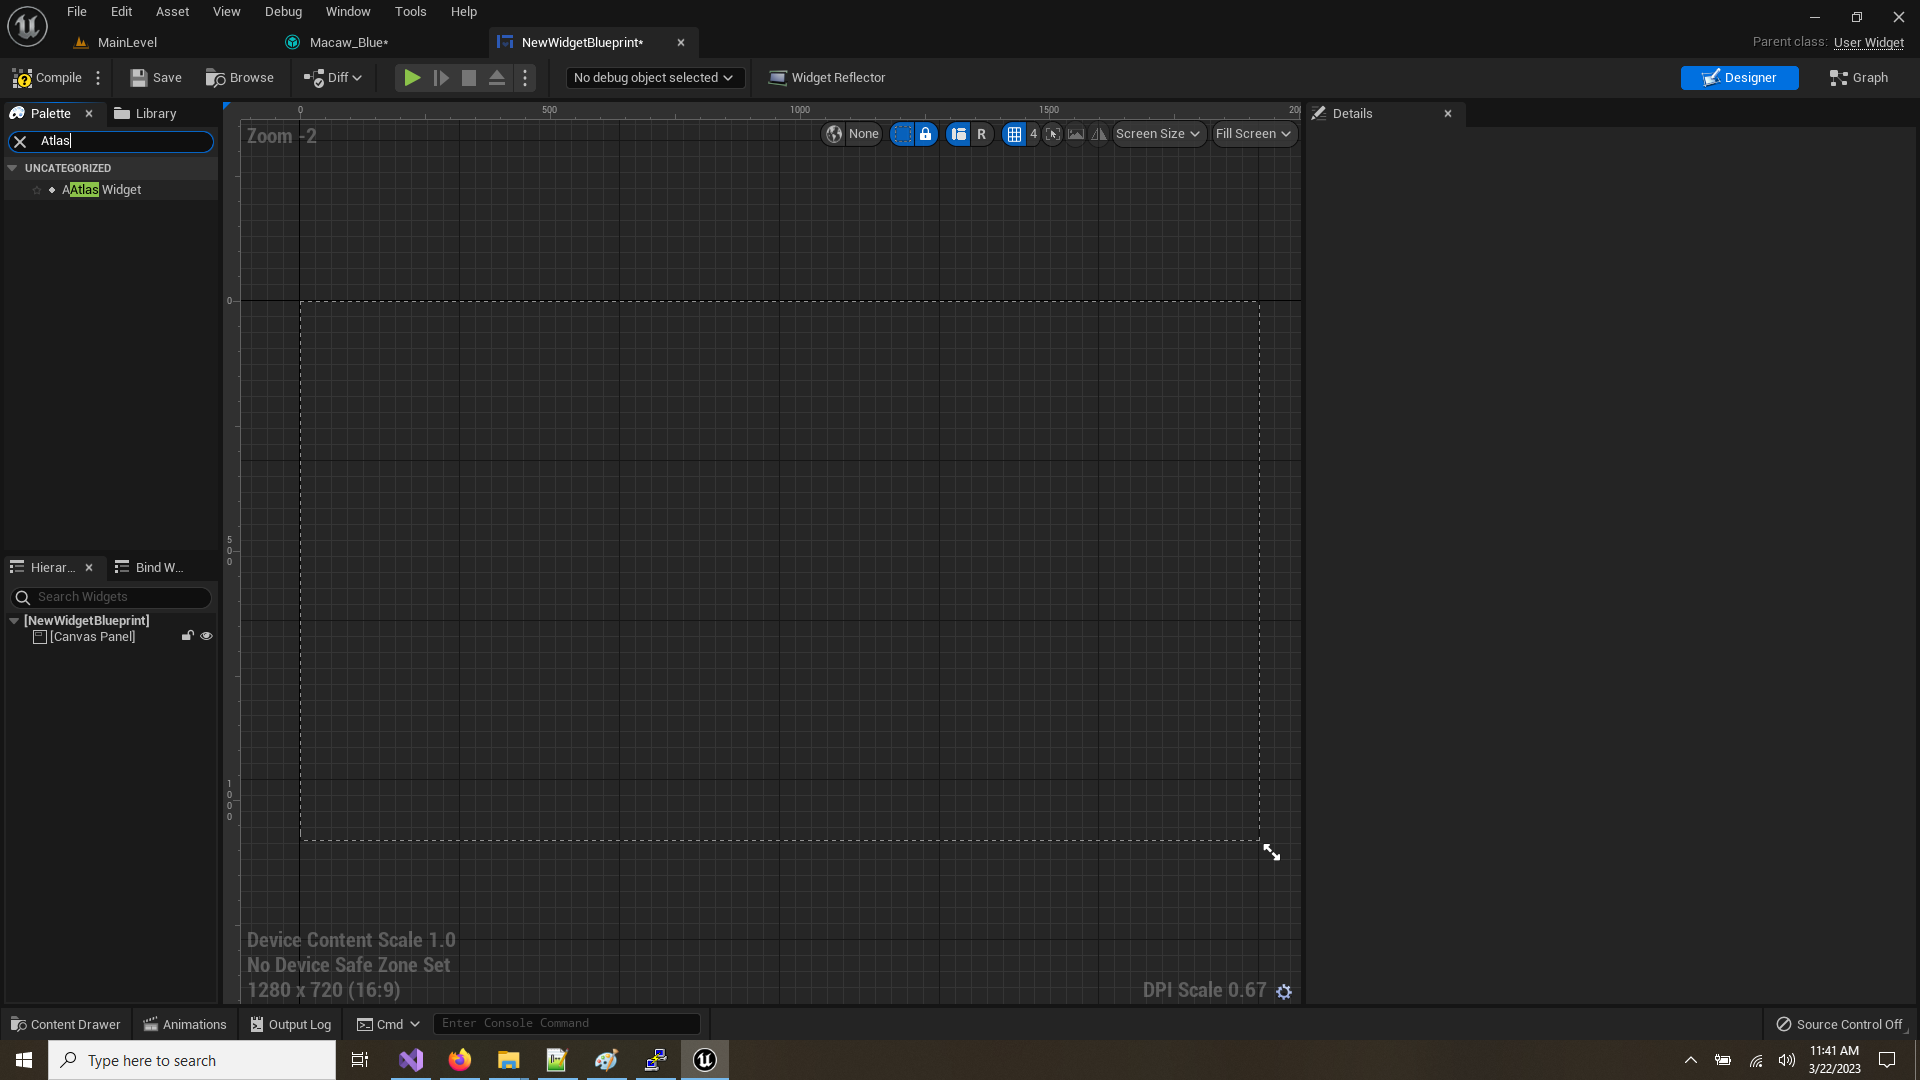
Once created, open the asset and add a canvas panel, then search for 'AAtlas Widget' or just 'Atlas' this will pull up the widget to draw our animations with:
Select the widget in the navigation panel and under General -> source select our imported asset:
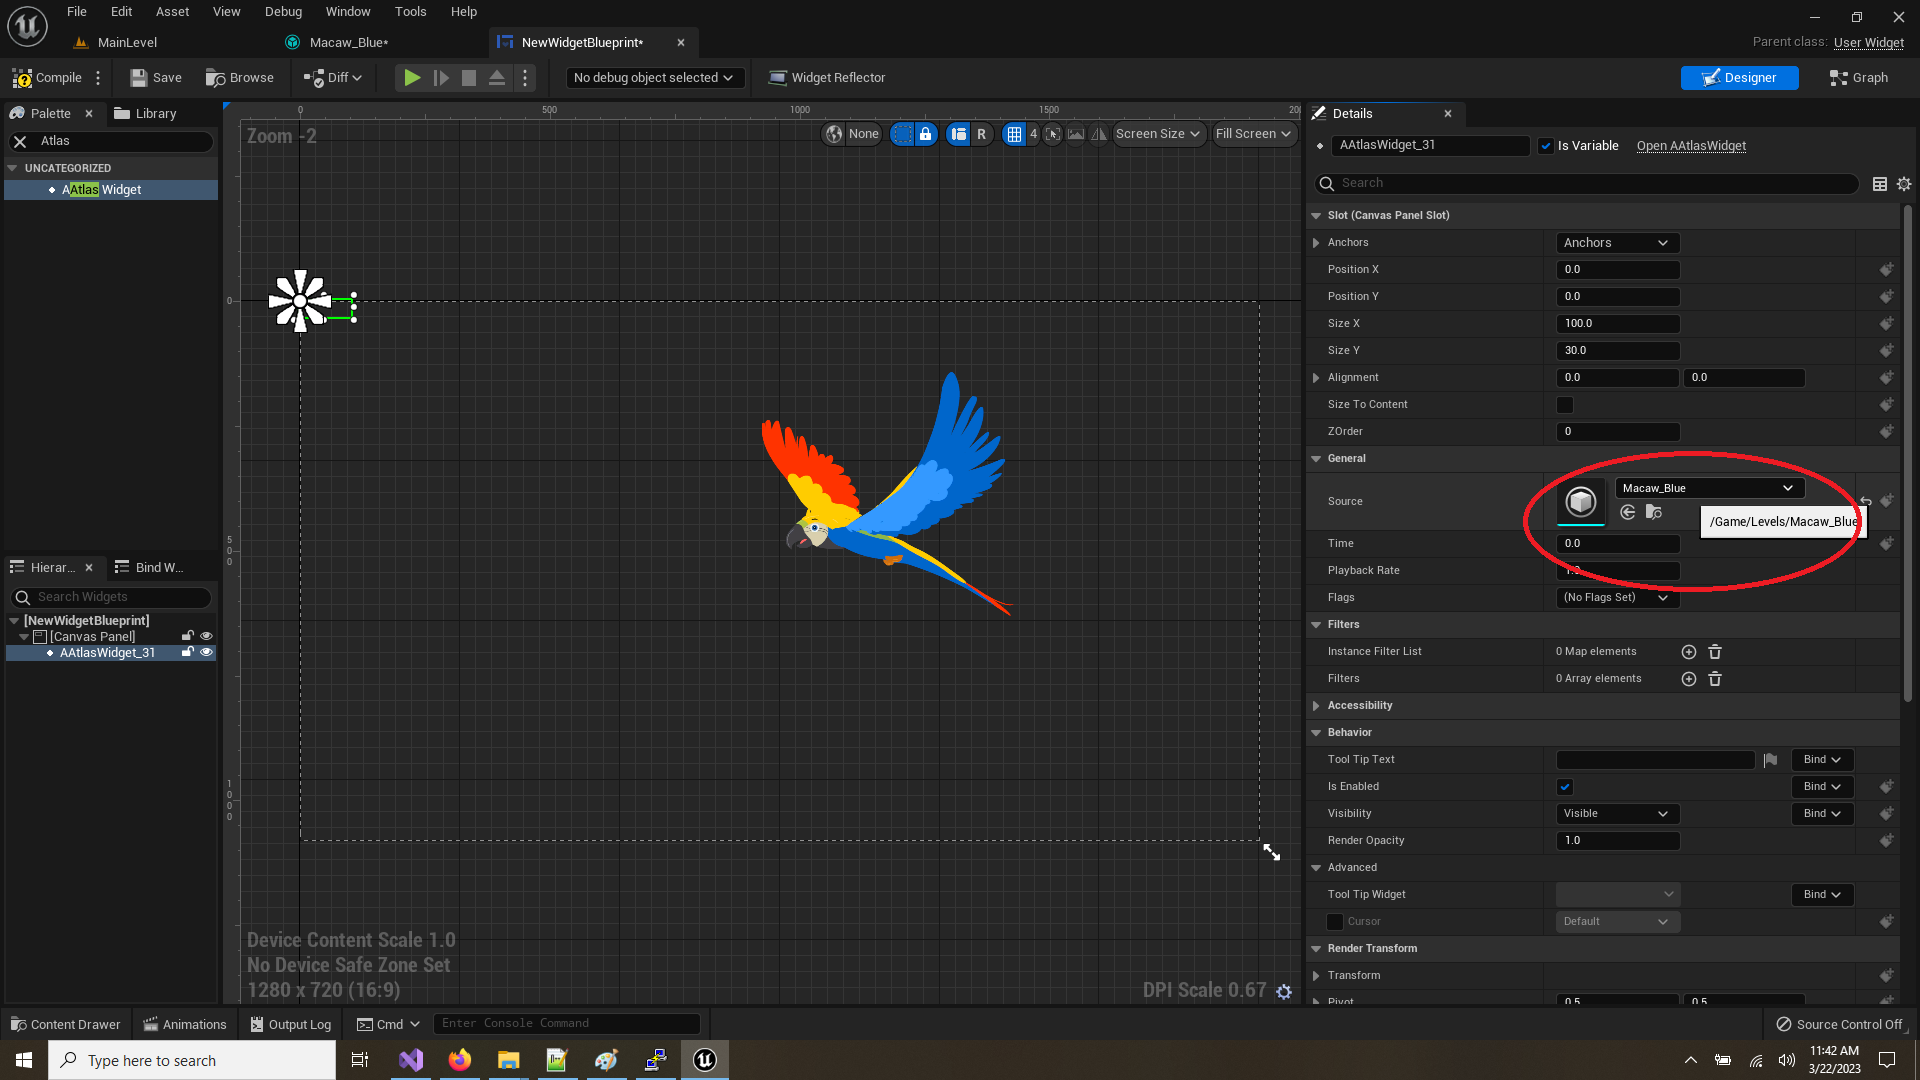
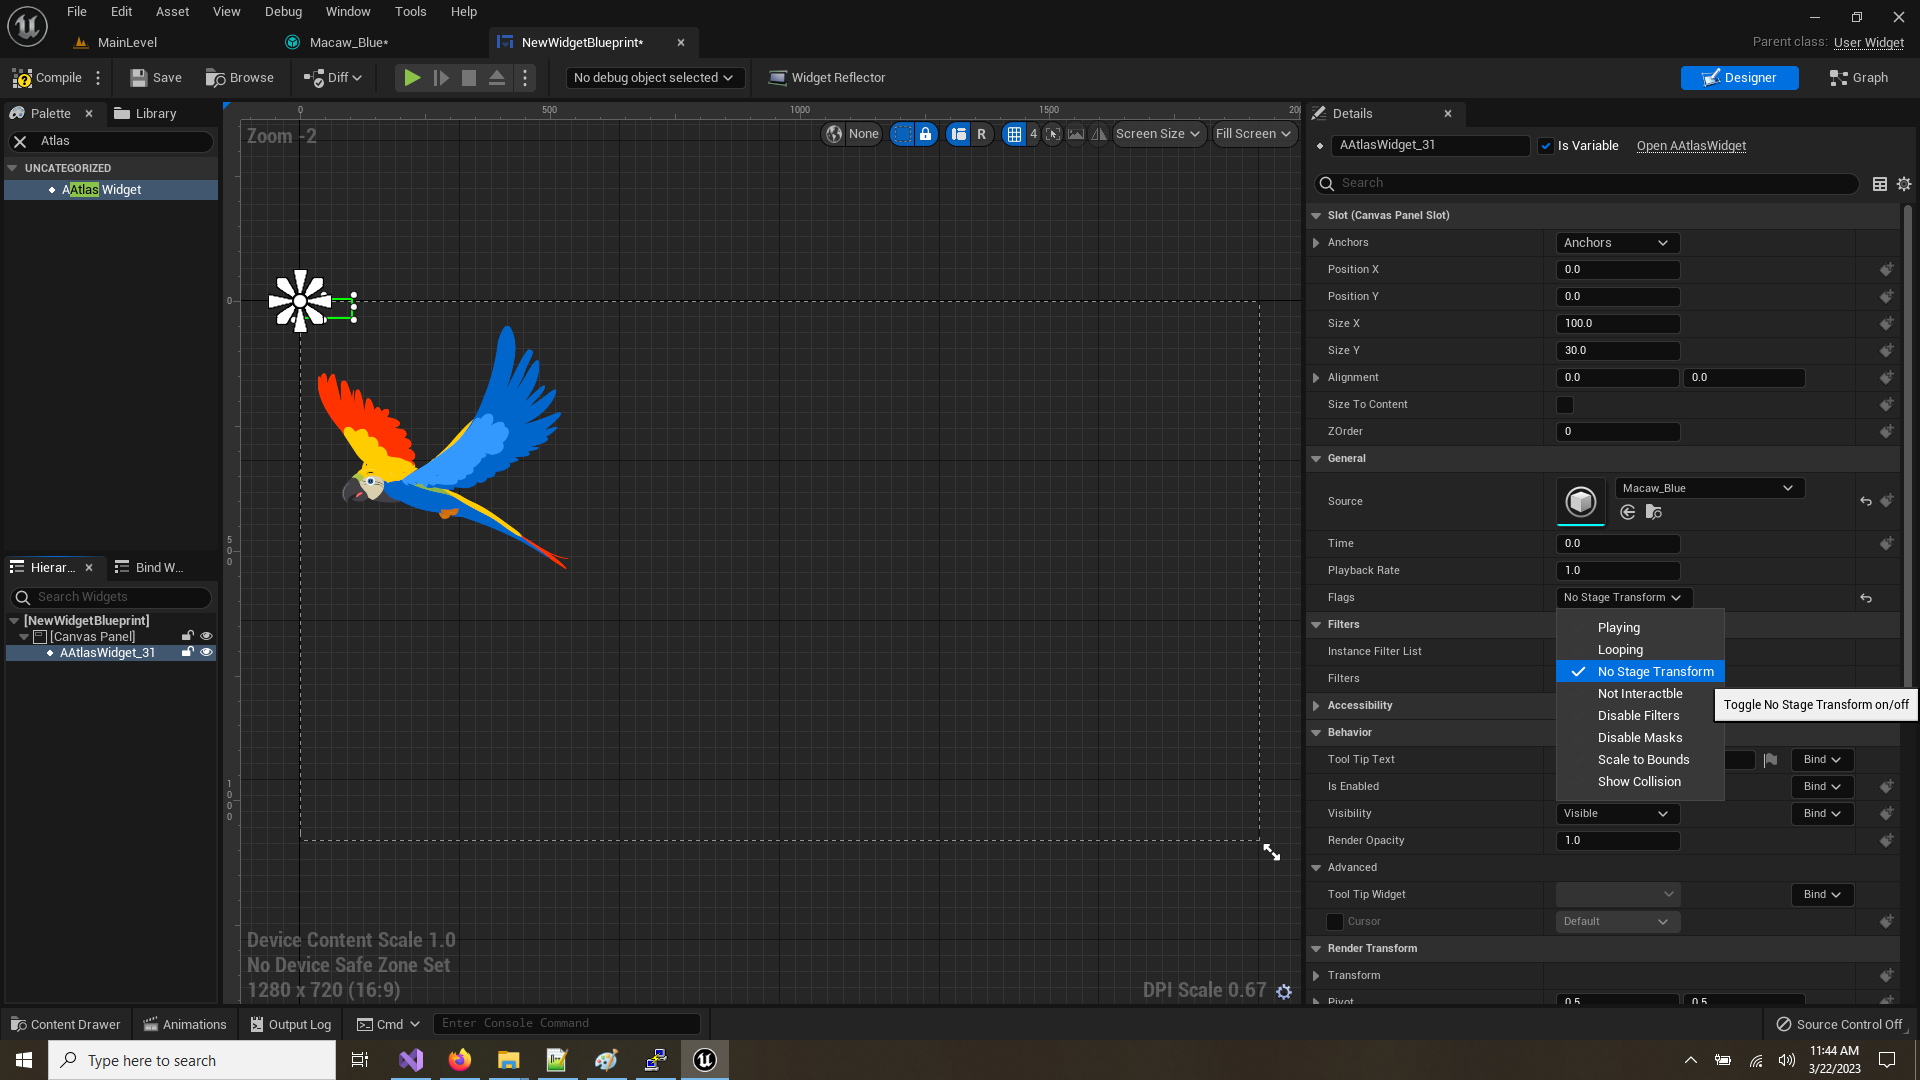
By default the object is drawn where it was exported from in adobe animate, this is called it's 'StageTransform' under the flags you can disable this behavior by selecting 'NoStageTransform'
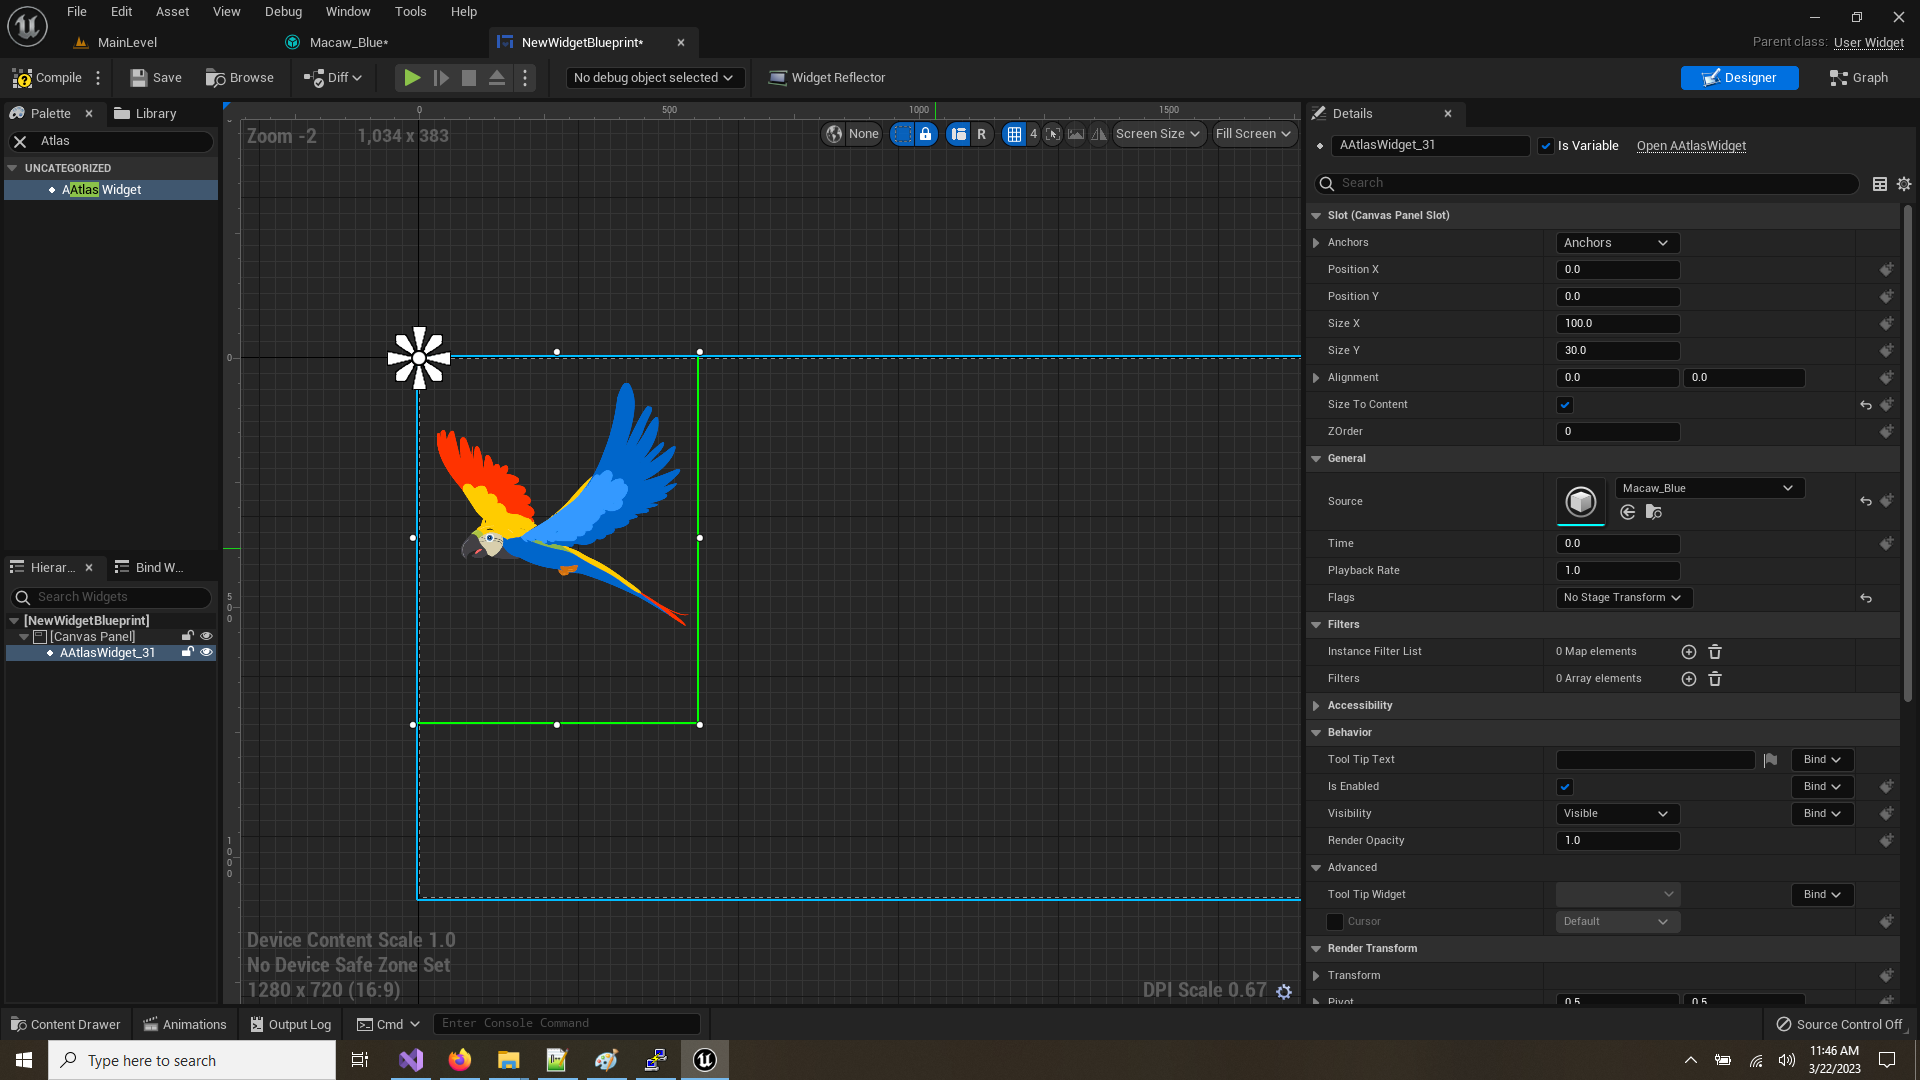
you can also set size to be automatic, this will make the object size for the entire animation timeline that was exported, which can be much bigger than any individual frame(any mask layers will be excluded from the size calculation). if stage transform is on then the extra width/height of where the object was in the stage is included.
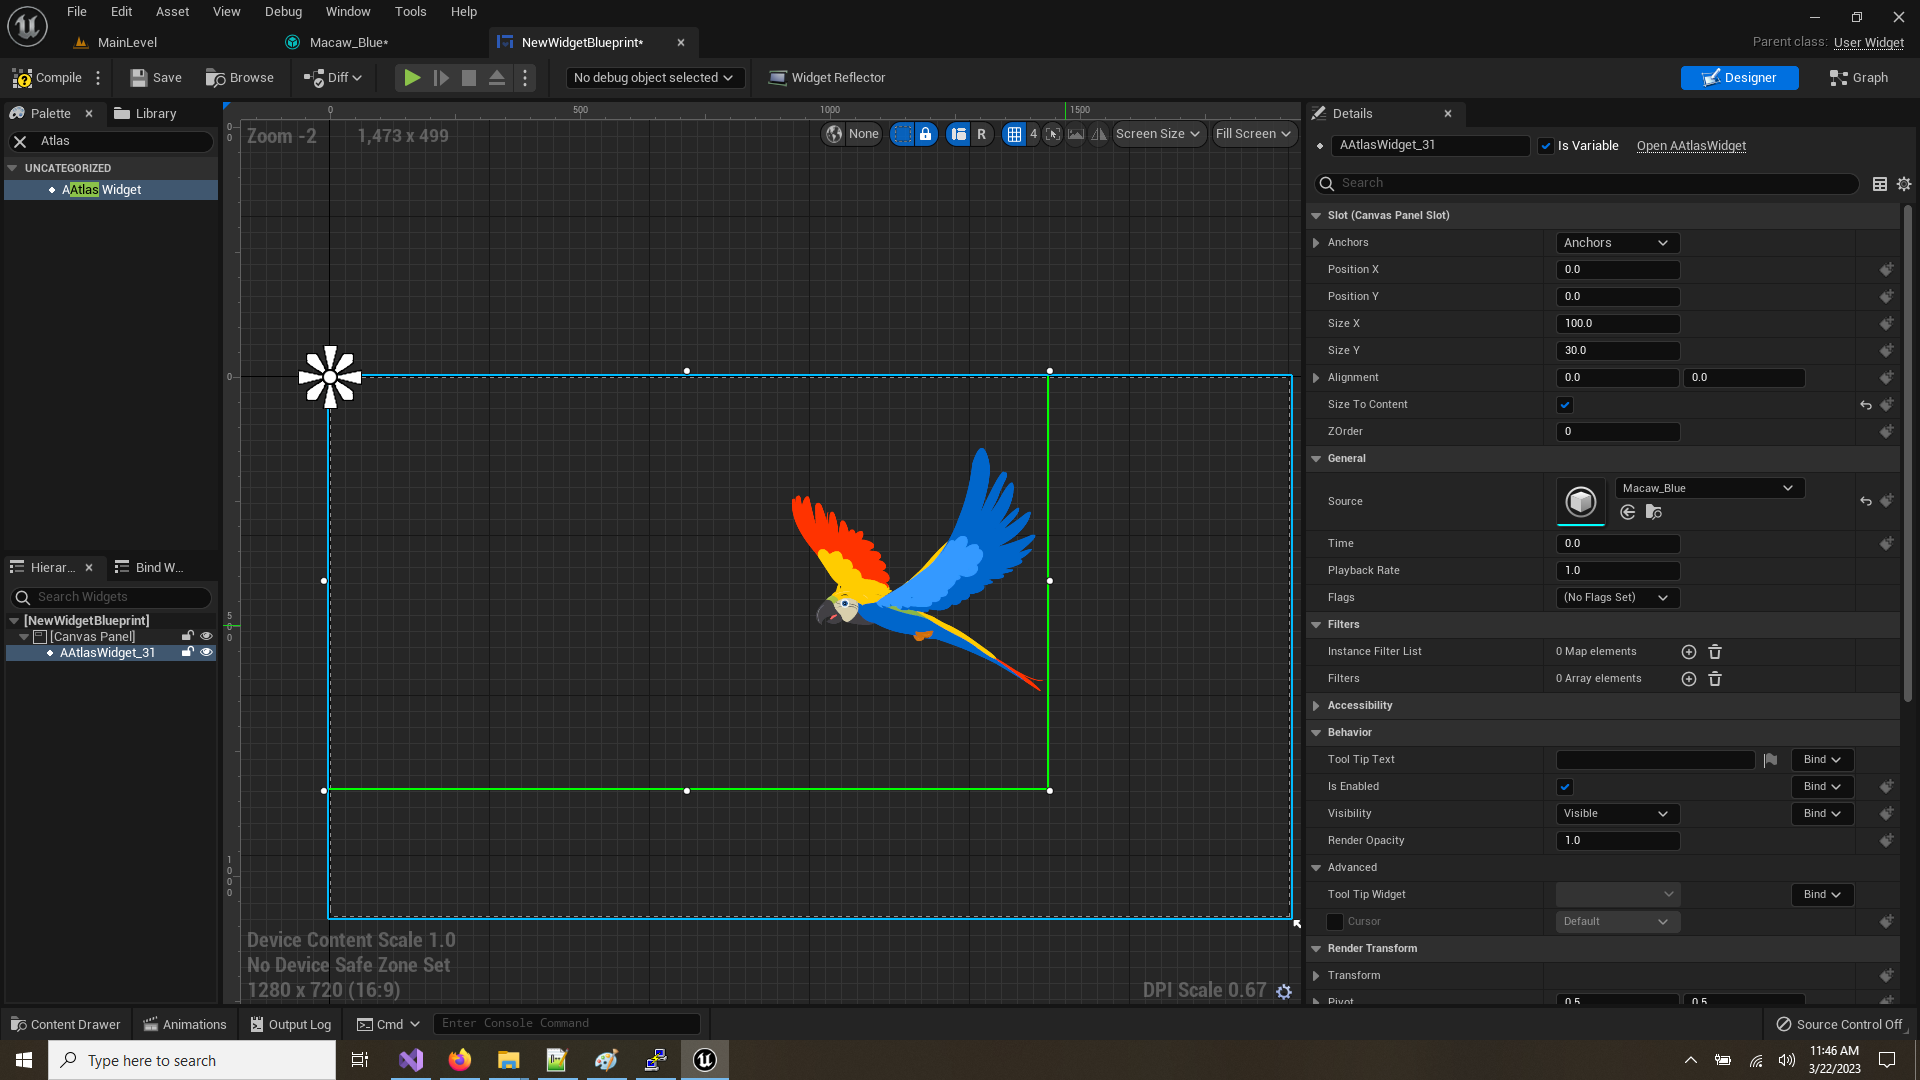
By dragging the 'Time' variable you can play through all the frames of the animation, if Time is greater than the duration of the clip, then nothing will be drawn, you can set the playing flag under flags to default the object to play through it's animation when it appears on screen(it will stop at the end of it's duration by default). setting the looping flag will keep the object looping indefinitely while it's on screen. the animations speed can be controlled by playback rate, which defaults to 1.0, negative values are also acceptable to play in reverse.
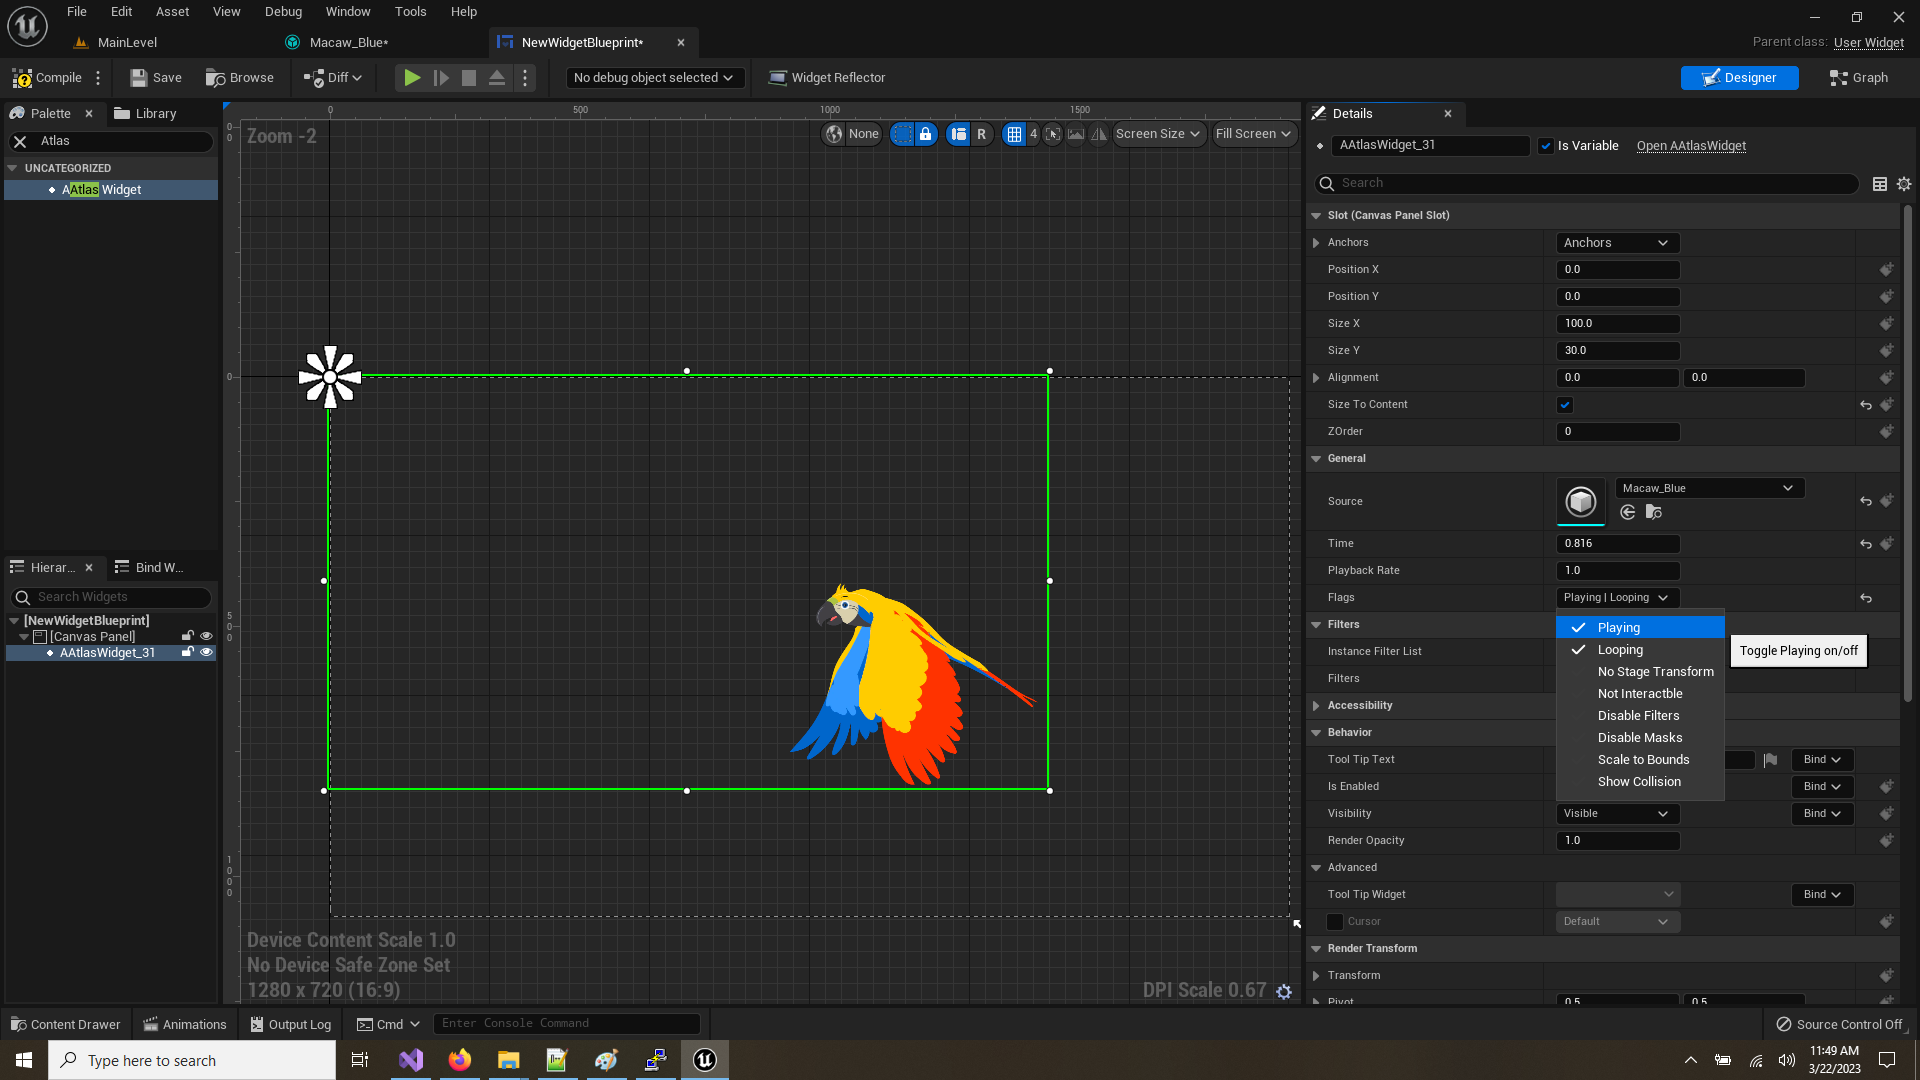
You can also adjust the AnimationRangeStartTime and AnimationRangeEndTime(not pictured here) to play sub segments of the animation, these values should be positive with EndTime always >= StartTime.
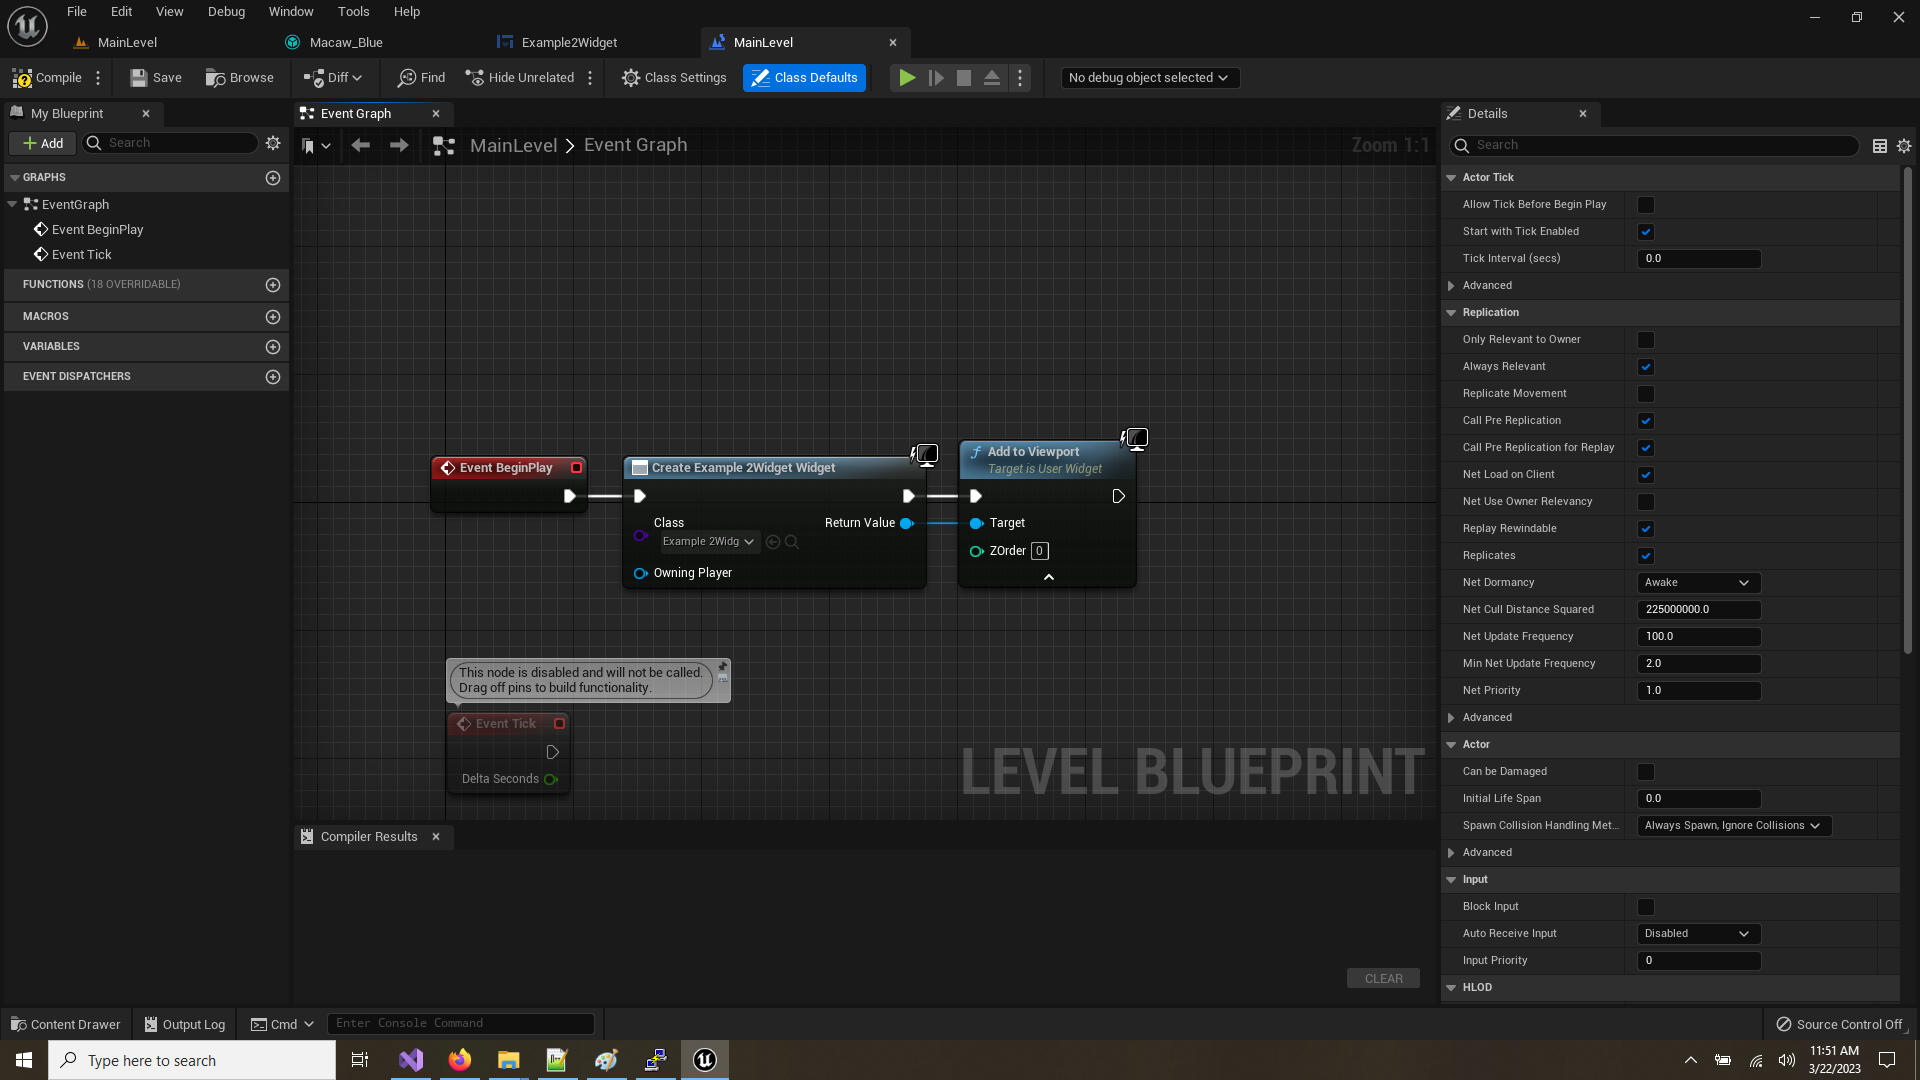
Now let's add this widget to the screen, open up the levels blueprint and add the following code snippet:
Hitting play should see the following animation on screen:
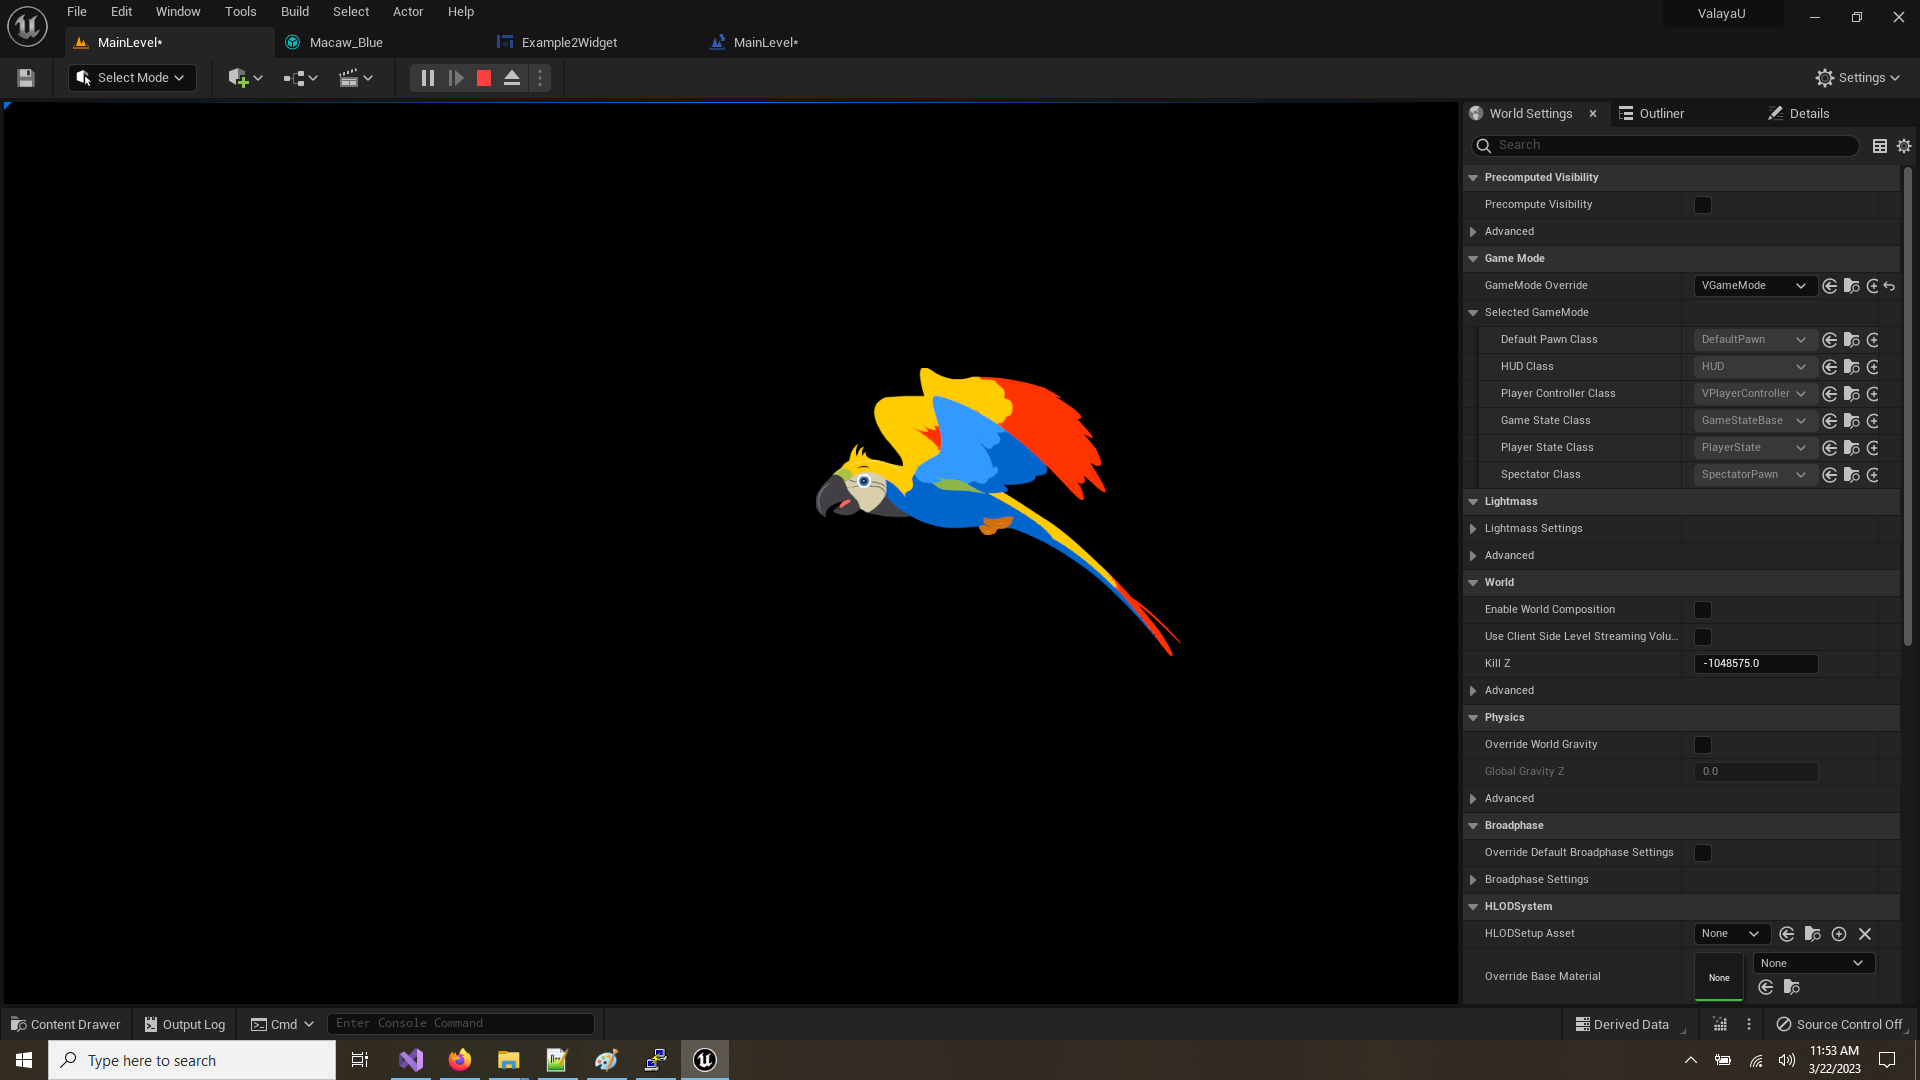
That concludes the quickstart portion of this documentation, from here will be detailing technical information about the various flags, filters, masking and known issues with the file format to be considerate about.
Adobe Animate by default has support for 7 filter types, all filters are supported but for performance and technical reasons they may not produce a 1:1 reproduction of adobe animate's filters. this is due to adobe animate filters not being publicly documented, and requirments for doing at real time means an efficient filter techniques needed to be used. One thing to also consider with filters is they require extra rendering work for each filter used, this means having lots and lots of filters may have performance issues depending on the platform your targeting, so be sure to profile that they are not causing issues during development.
The blur filter(and basis for most other filters) uses kawase blur technique to match the requested blur size. the blur only has 3 parameters, BlurSize (in X+Y), and quality. quality controls the number of blur passes that will happen, as well as how large each step will be. higher quality will mean smaller steps and more passes, compared to low quality. the number of steps is also based on the blur size, larger and larger values will produce more render passes to match the desired effect.
The glow filter produces a glow around the object in the specified color, this is done by drawing the object as the desired color, then bluring the result, finally we composite back over the original object. you can set the knockout field to true to remove the object and glow parts wherever the original object was. setting the object to be hidden will draw the entire glowing object instead. you can also set the inner flag to true, rather than an external glow around the object, it will produce an internal glow with the object(this is done by inverting the alpha of the color pass, then blurring the resulting color pass. Note: the inner and outer flags should not be set on at the same time, if they are you will get blown out artifacts in the effect.
The drop shadow filter uses the same effect as the glow filter, except it can be set to an angle offset and moved some distance from the original object. internally the angle and distance are pre-calculated as a sin/cos*distance and stored as the 'Offset' field for the filter.
The bevel filter produces a 'highlighted and a 'shadowed' side of an object, this is done by effectively doing two Drop Shadow passes, with each pass being in opposite direction to the Angle/Distance, then recomposited back onto the original object. the same settings apply as those for the glow filter, however knockout and hide object will do the same thing. also you can safely have both the inner and outer flag for the filter set to get both an internal bevel and external bevel at the same time.
The adjustment filter allows you to adjust the brightness, contrast, saturation, or hue of the objects. The adjustment is not a perfect match to how adobe animate does the filter, so you should take care to check how the results look in editor while using this filter.
The gradient glow filter allows you to have multiple colors for a glow, this is achieved by drawing an all white glow outline, then in the composite step we take the white color after blurring to select which gradient color to choose from. this means there is currently a limitation of only 4 gradient colors that can be used at a time, if any more then that are detected on import, the filter will be discarded and a warning emitted to the output log. A caveat of the gradient filters is that the plugin does linear interpolation between points, adobe animate seems to use a different interpolation scheme that may produce slightly different color bands between the two.
The gradient bevel filter is similar to the glow filter, however the way the image is composited back together required the middle gradient color to have an alpha value of 0, a non-zero value will produce artifacts due to how the effect is done, these artifacts can also be seen in adobe animate, so you'll know if you are doing things incorrectly.
Filters can be manually added to the overall widget under the Filters tab, or can also be added to individual instances in the asset. if you add a filter manually, then the flags menu may work a bit weirdly. It's generally not advised to manually input the filters, instead use the blueprint function library to add/change filters at run time, which includes a suite of MakeXFilter functions.
Filters can be completely disabled by turning on the 'Disable Filters' flag of the widget.
Mask layers are imported from adobe animate as-is, and well be applied by default. you can disable masks in the widget by selecting the 'Disable Masks' flag for the widget. Masks should work correctly for the most part and not require any additional work.
Animated texture atlas allows for full mouse interaction by giving each atlas tile a configurable convex hull. you can modify the convex hull using either the editor, or manually adjusting the values under the details panel of the asset editor. Interactions for any atlas item on a mask layer will not be considered during mouse events, the widget may turn off all mouse interactions by setting the 'Not Interactable' flag on the widget. There are 3 callbacks that can be registered to listen for OnHovered, OnUnHovered, and OnClicked. these will fire whenever the mouse interacts with parts of the object, you can also check if the widget is being hovered or pressed with IsGSHovered(), and IsGSPressed(). UMG by default OnHovered uses the UMG box, the GS variants use the convex hulls for detecting mouse hovers. These events do not consider other slate objects that may be covering up the object, so be considerate with how you lay out your elements.
You can also turn on the 'Show Collisions' flag for the widget, this is a debug flag that is only available in editor builds and will have no affect in packaged builds, that draws convex hull around each atlas. a green color means interactions can be done without issue, a red color means the hull is not convex and results may be unpredictable. a orange color means the atlas is not within the umg bounds(which are checked first as an optimization to skip checking the entire object) and thus won't be considered during interaction evaluation.
Scale to bounds flag on the widget will attempt to scale the object up/down and keep it within the bounds of the specified umg size. by default the umg element will only scale in relation to how the entire canvas is scaled up and down, and will ignore any scaling of it's bounded box. setting this flag provides the behavior to adjust the dimension of the object to be inline with umg objects.
In addition to mouse callbacks, the widget includes one more callback that can be bound to: 'OnAnimationFinished' this is fired every time the animation reaches the end of it's animation. if the object is looping, then it will be called at the end of each loop.
There are various issues with adobe animate that can't be fixed on the plugin side, but must be fixed in a future update to adobe animate.
Adobe animate exports filters as an object, instead of an array of filters. this means json parsers will replace any duplicate filters with the last that is seen, as well because most json parsers store values in a map, the order of the filters can also be lost after deserialization. It seems obvious this is an oversight by adobe animate, as such this bug may cause issues when exporting objects with several filters applied to them.
Currently only 4 colors are supported from a gradient filter, the filter will be dropped and a warning emitted if encountered during an import. in the future this max may be increased if demand is requested.
This information outright is not included in the texture atlas, so any blending options will not be accurately reflected in the widget, if a future version of adobe adds this information to the texture atlas information, then this plugin will be updated to include it.